
Enhance your home decor with the sleek And innovative design of bracketless wall shelves. This article provides A comprehensive guide On how To create these stylish Rag, Giving your space A modern And Clutter-Free look.How to Build Wall Shelves Without Brackets We’ll take you through each step of The process, From selecting materials to The final installation, Ensuring you can build Durable, floating Rag with ease. Whether you’re aiming To showcase your favorite books, Plants, or collectibles, Our guide will help you achieve A polished look that complements any room’s aesthetic.
How Much Weight Can a Bracketless Shelf Hold?
Generally, A well-installed bracketless shelf on A sturdy wall can hold between 25 to 75 pounds (11 to 34 kg). However, For precise loading capacity, it’s crucial To consider the specific hardware And installation technique used. Always check the manufacturer’s recommendations And consult with a professional if unsure.
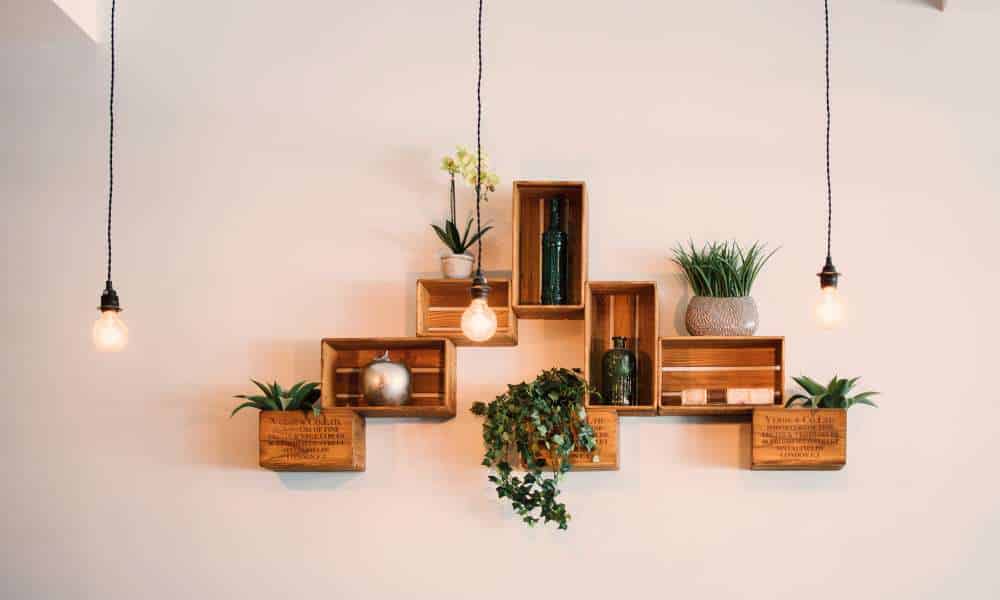
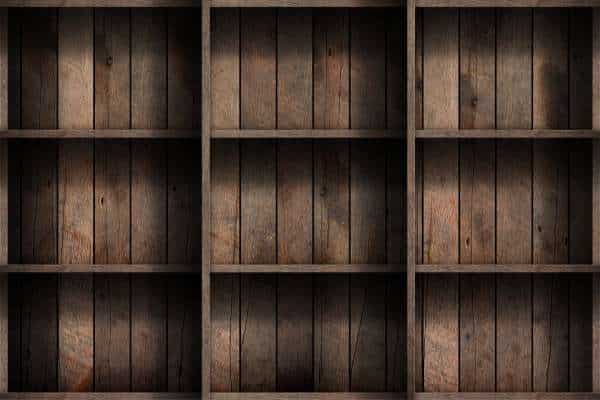
Design Inspiration
For design inspiration for your bracketless Shelves, Consider the ambiance and functionality you wish To achieve within your space. Contemporary designs can leverage Sleek, High-gloss finishes Or geometric shapes to make A statement, While a more traditional setting might benefit from The warmth of natural wood Or the timelessness of vintage-style edges. Think about the interplay Of the shelves with wall colors, Room lighting, And other decor elements. Creatively mixing shelf lengths And orientations can add visual interest And dynamism.
Materials Needed
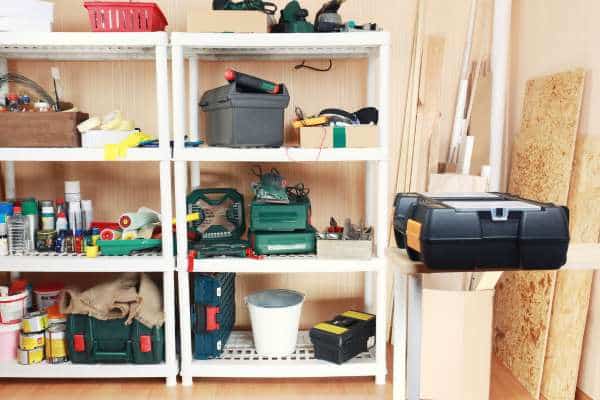
For your bracketless shelves, you’ll need materials like wood, MDF, or plywood, cut to size, and strong anchors or bolts for mounting. Essential tools include a drill, level, stud finder, screws, a saw, and sandpaper. Optionally, you can use paint, stain, or sealant to finish and protect your shelves, enhancing their look to match your decor.
Planning Your Shelf
In planning your bracketless shelf, Consider both its function and form. Assess the space where The shelf will go, Ensuring it harmonizes with The room’s layout and décor. Choosing the right material Is crucial; It should be sturdy enough To bear weight yet aesthetically pleasing. Think about The finish and color that will best complement your interior design. Additionally, calculate The load the shelf will need to bear to select The appropriate installation method.
Preparing the Wall
Before installing your bracketless Shelf, Preparing the wall is A critical step to ensure the shelf’s stability And longevity. If you’re not anchoring into Studs, Locate the appropriate positions for your wall anchors that will support The shelf’s weight. Clean the wall surface To remove any dust or debris that might interfere with installation. For drywall, Use a stud finder To locate studs and avoid wiring Or plumbing hidden behind the wall.
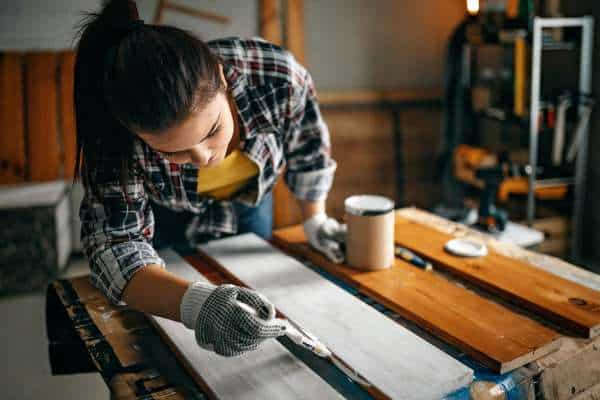
Cutting and Sanding the Wood
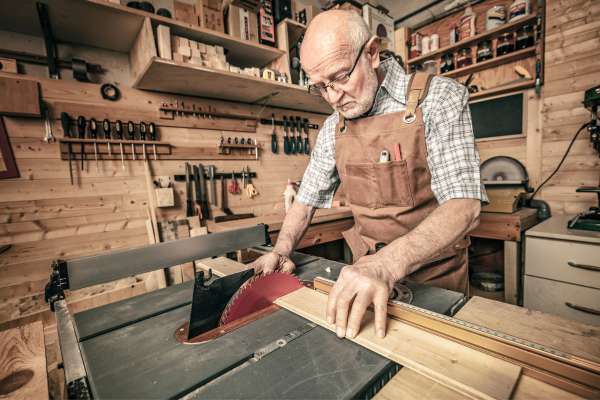
The process of cutting and sanding The wood is a crucial step in creating your bracketless shelves, As it affects both the aesthetics And the structural integrity of The final product. Begin by accurately measuring And marking the wood according to your design Plans, Ensuring each cut will contribute to The shelf’s precise dimensions and fit. Use a reliable saw To make clean, Straight cuts, Taking care to follow safety guidelines To prevent accidents. Start with A lower grit sandpaper To remove larger imperfections And gradually move to a higher grit for a Fine, Smooth finish. This meticulous preparation is vital for A professional-quality shelf And prepares the wood perfectly for any subsequent staining Or painting.
Creating Support for the Shelf
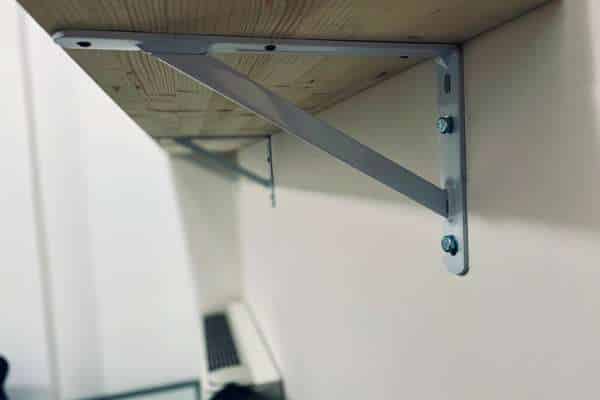
Creating a robust support system is crucial for The stability and functionality Of your bracketless shelves. Instead of traditional brackets, You’ll use a hidden support, Typically a wooden or metal Baton, That fits snugly into a recess on The back of the shelf Or mounts directly onto the wall. Measure and cut the support to fit The length of your shelf, Ensuring it’s slightly shorter To remain invisible. For a secure fit, the support should be mounted level And firmly attached to wall studs Or using appropriate wall anchors for your wall type. This method distributes the shelf’s weight across A broader Area, Enhancing stability. Once the support Is securely in place, The shelf will slide onto it or be attached with screws or Adhesive, Creating a clean, Floating appearance. Ensuring the support is well-designed And correctly installed is key to the longevity And safety of your bracketless shelving.
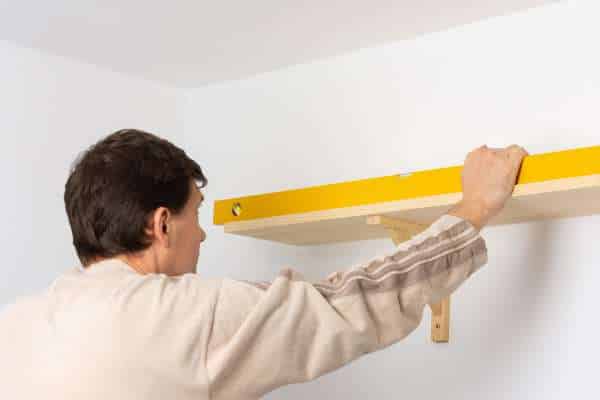
Mounting the Support

Mounting the support for your bracketless shelf is A critical step that ensures the stability And durability of your shelving. After selecting The right support—whether a wooden cleat Or metal bracket—it’s essential to install it accurately And securely. Start by aligning The support with the marked lines on your Wall, Ensuring it’s level. If you’re mounting into Studs, Pre-drill holes And use sturdy screws to affix the support firmly. In the absence of Studs, Use heavy-duty wall anchors that Are suitable for your wall material.
Attaching the Shelf to the Support
Attaching the shelf to its support is crucial for stability. Once the support is secure, position the shelf, ensuring it fits well. If needed, fasten it with screws or adhesive for extra hold. For screws, pre-drill to avoid splitting the wood, and verify their length to avoid protrusion. If using adhesive, apply it evenly, place the shelf, and wait for it to set. Always check that the shelf is level and stable before use, guaranteeing safety and visual appeal.
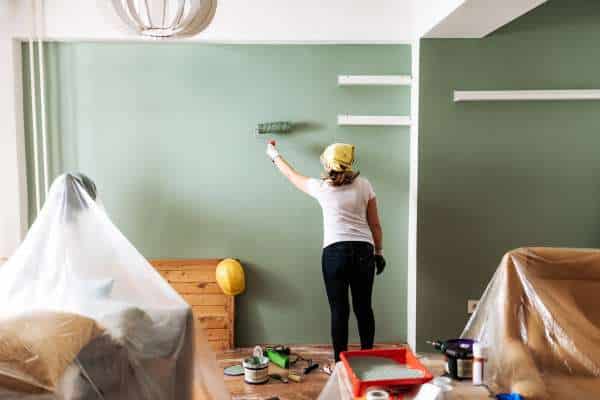
Finishing Touches
Apply carefully, adhering to drying times. Consider adding padding underneath to protect the wall or decorative trim for flair. Inspect and make any needed touch-ups, ensuring your shelf is not only functional but also a showcase of your craftsmanship.
Maintenance Tips
Regular maintenance is key to ensuring your bracketless shelves remain both beautiful And functional over time. Dust and clean The shelves regularly with a soft cloth to keep them looking fresh And prevent build-up that can obscure their appearance And potentially damage the material. Check periodically for any signs Of wear or weakness, Especially in the supports And attachment points. For wood shelves, Consider reapplying a sealant or finish as needed To protect against moisture and wear. By attending to these maintenance Tasks, You’ll prolong the life And beauty of your bracketless Shelves, Ensuring they remain a standout feature in your space.
Can bracketless shelves be installed on all types of walls?
Drywall, Plaster, Brick, And concrete walls can all support bracketless shelves, But the correct anchors And mounting strategy are crucial. For instance, Drywall will require sturdy anchors Or mounting directly into Studs, while concrete Or brick walls might need special masonry anchors. It’s essential to use the appropriate hardware And techniques for your wall type To ensure the shelf is secure And functional.
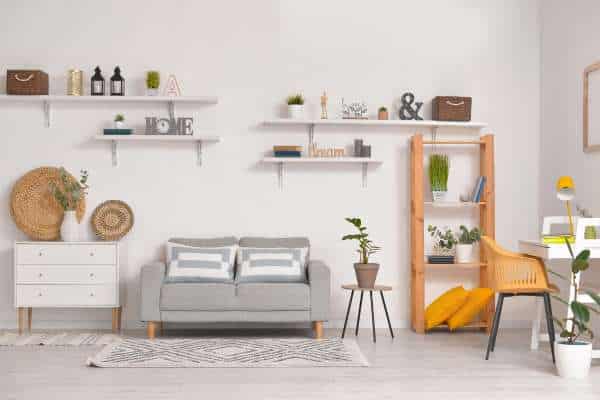
Conclusion
Building wall shelves without brackets can be A rewarding DIY project that adds both functionality And aesthetic appeal to any space. By following The steps outlined in this article And using the right tools and Materials, you can create sturdy And stylish shelves that suit your needs. Remember to measure carefully, Use proper mounting techniques, And test the shelves for stability before adding weight.