

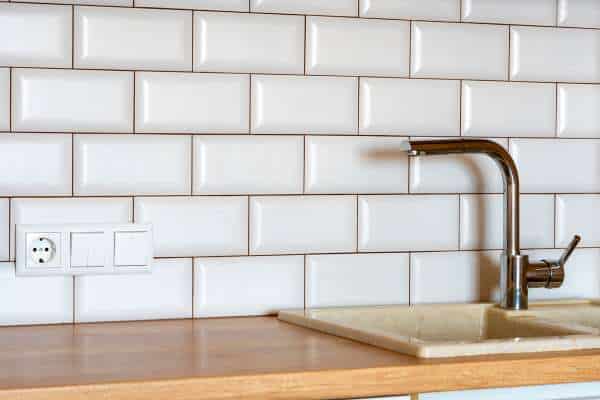
A loose kitchen faucet can be A frustrating nuisance, leading to leaks And inconsistent water flow. Over time, wear And tear Or improper installation can cause your faucet To become wobbly or misaligned. Fortunately, Tightening a kitchen faucet is A straightforward task that most homeowners can tackle without professional help. With just A few basic tools and some simple Steps, How To Tighten Kitchen Faucet You can restore stability to your tube And prevent further issues down the line. In this Guide, We’ll walk you through the process of tightening your kitchen tube Effectively, Ensuring that it operates smoothly And efficiently. Whether you’re dealing with A traditional pull-down model or A modern touchless design, Our tips will help you get The job done quickly and easily. Say goodbye To those annoying drips and wobbles—let’s dive into how To secure your kitchen faucet for good!
Common Causes of a Loose Kitchen Faucet
A loose kitchen faucet can be A frustrating issue, but it’s usually easy to fix once you identify The cause. One common reason is A loose mounting nut. Over time, the nut that holds The tube in place may loosen due to daily Use, Causing The tube to wobble or shift. Another culprit could be worn-out O-rings or Washers, Which are essential for keeping the faucet stable And secure. If these parts become damaged or Degraded, They can lead to movement. Additionally, mineral buildup from hard water Can corrode components and weaken the connection, Making the faucet feel loose. Improper installation is another factor; If the tube wasn’t installed securely from the beginning, it’s likely To loosen over time. Identifying these causes early can help prevent more significant Issues, Such as leaks or water damage, And ensure your tube stays securely In place for years to come.
Tools You’ll Need for the Job
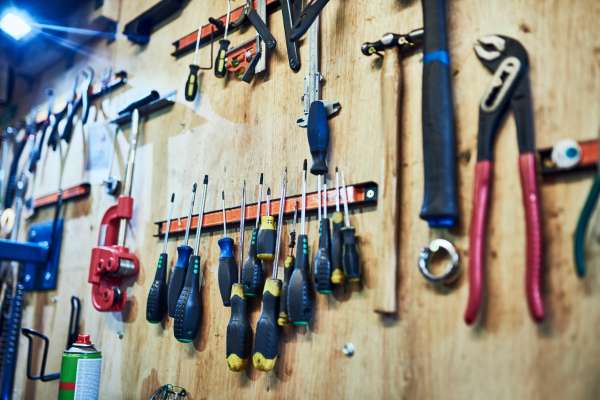
To fix a loose kitchen faucet effectively, Having the right tools on hand is key. A basin wrench is A must-have for reaching and tightening The hard-to-access mounting nuts beneath The sink. An adjustable wrench will help with loosening Or tightening various sizes of bolts And connections. You’ll also need a Phillips or flathead Screwdriver, Depending on your faucet’s design, to remove screws Or handles. Plumber’s tape (Teflon tape) is great For ensuring leak-proof seals On threaded connections. A flashlight is useful For better visibility in the often dimly lit space under the sink. Additionally, A towel or bucket is handy To catch any water that may leak during the repair. With these simple Tools, You’ll be ready to secure your loose tube And prevent further issues.
Turning Off the Water Supply
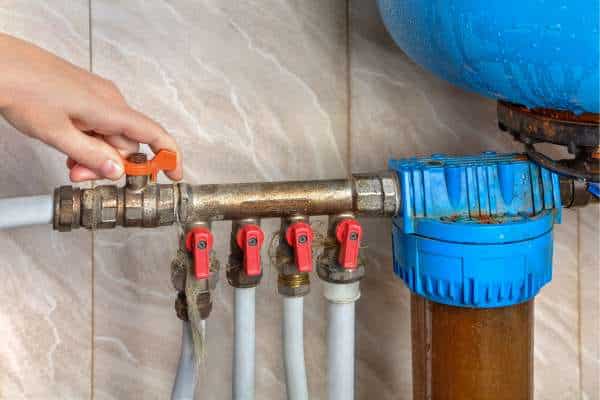
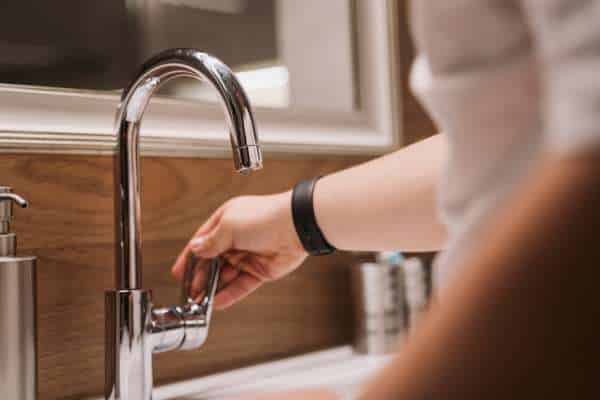
Before starting any repairs on a kitchen Faucet, It’s crucial to turn off the water supply to avoid leaks Or flooding. Typically,There are two shut-off valves located under the Sink, One for hot water and one for cold. Simply turn both valves clockwise until they Are fully closed. If your sink doesn’t have these valves, You’ll need to turn off The main water supply To your home. After shutting off the water, Turn on the tube to release any remaining water in The lines. This step ensures that No water will spill during The repair process. Skipping this important step can lead To water damage And make the repair much more difficult. Always double-check that The water is completely off before beginning any work On your faucet.
Accessing the Loose Faucet Components
To fix a loose kitchen Faucet, The first step after turning off the water supply is accessing The loose components. Start by looking under The sink to locate the mounting nuts Or brackets that hold the tube in place. You may need To use A basin wrench to reach these tight spots. If the issue lies in the tube handles, You’ll likely need to remove them To access The internal components. Use a flathead Or Phillips screwdriver, Depending on the type of screws, To gently remove The handles. Be sure to keep all screws and small parts organized For easy reassembly. Once you’ve exposed the internal components, Check for any loose nuts, bolts, Or damaged washers that may be causing The tube to shift. With everything accessible, You can begin tightening and securing the faucet.
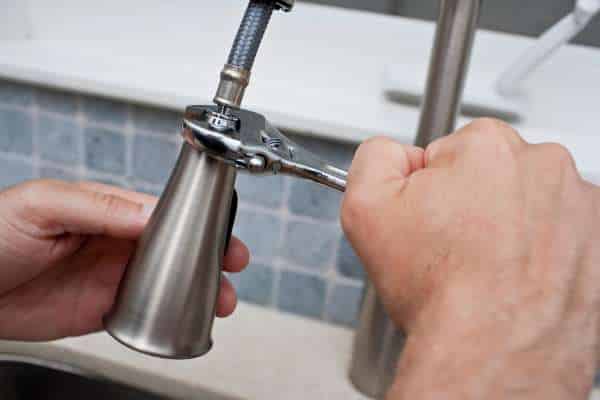
Tightening the Faucet Base
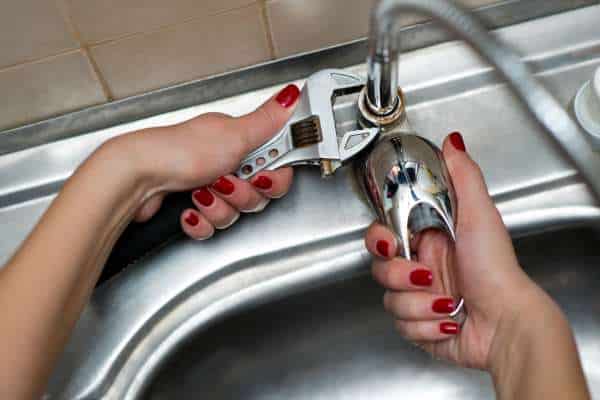
Once you’ve accessed the loose Components, The next step is tightening the tube base To prevent further movement. The tube base is typically secured by A mounting nut located underneath the sink. Use A basin wrench to reach the nut, As it’s often in a tight, Hard-to-reach spot. Carefully turn the nut clockwise to tighten It, ensuring the faucet is secured to The sink surface. Be cautious not to overtighten, As this can damage the sink or the faucet components. If your tube has multiple mounting nuts, Tighten each one evenly To avoid tilting or uneven pressure. After securing the Base, Gently test the tube to ensure it’s stable And no longer wobbles. Properly tightening The tube base will help prevent leaks and extend The life of your kitchen faucet.
Tightening the Faucet Handles
Tightening the faucet handles is A simple but essential part of maintaining A stable to change a kitchen faucet. Over time, Frequent use can cause the handles to Loosen, Leading to wobbling or difficulty in turning the water on And off. To tighten them, first, Locate the small screw typically hidden under A decorative cap or behind the handle. Using a flathead Or Phillips screwdriver, carefully remove the cap And access the screw. Turn the screw clockwise to secure The handle firmly in place. Be sure not to overtighten, As this can cause damage to the screw or The handle itself. Once the handle is securely fastened, Reattach the cap and test The handle’s stability. Properly tightened handles will ensure smoother operation And prevent further loosening in the future, Making your tube more reliable.
Tightening the Faucet Spout
Tightening the faucet spout is another crucial step In fixing A loose kitchen tube. The spout can become wobbly over time due to regular use, Causing potential leaks and difficulty in operation. To begin, Locate the screw that holds The spout in place, Typically found under the spout or near The base. You may need to remove a small decorative cap Or collar To access this screw. Using an appropriate tool, Such as an Allen wrench or screwdriver, Gently turn the screw clockwise to secure The spout. Be cautious not to overtighten, as this could damage The tube components. Once tightened, Test the spout by moving it side to side To ensure it’s secure. A properly tightened spout ensures A smooth operation, Reduces the risk of leaks, and extends The faucet’s overall lifespan.
Dealing with Under-Sink Mounting Issues
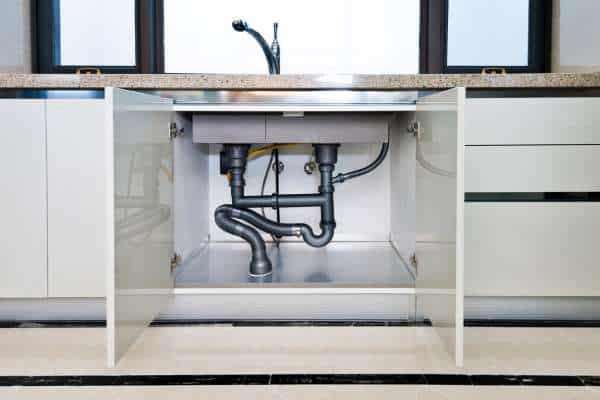
Under-sink mounting issues can often be The root cause of a loose kitchen faucet. Over time, the mounting nuts Or brackets holding The tube in place can loosen, Especially with frequent use. To address this, first,Locate the mounting hardware under The sink. You may need a flashlight to see clearly in the Tight, Dim space. Using a basin wrench, Carefully tighten the mounting nuts Or brackets that secure the tube to The sink. If the mounting hardware is rusted or damaged, It’s a good idea to replace them to ensure A firm, long-lasting fix. Also, check for any gaps Or loose seals between The tube and the sink surface. Replacing worn-out washers Or adding a sealant can help prevent future loosening. Properly securing The under-sink mounting ensures that your faucet stays stable And functional for years To come.
Rechecking All Connections
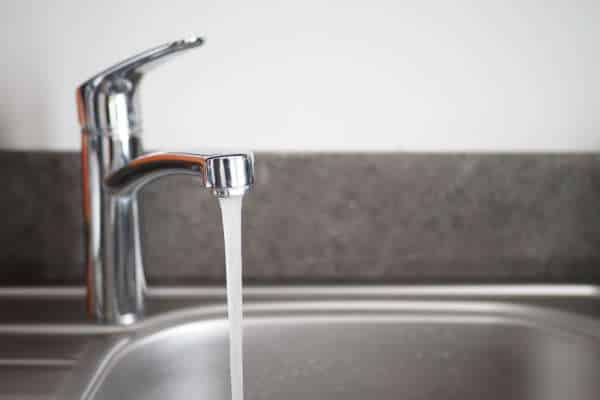
After completing the repairs, It’s crucial to recheck all connections to ensure The faucet is secure and leak-free. Begin by inspecting The mounting nuts under the sink, Confirming they are properly tightened. If your tube has separate hot and cold water Handles, check the screws On each handle to make sure they are secure. Also, Examine the spout connection to ensure it’s firmly in place And doesn’t wobble. Once satisfied with the physical connections, Turn the water supply back on And slowly test the tube. Run both hot And cold water to check for any leaks around The base, spout, Or handles. If everything is secure and there Are no leaks, your faucet should now be stable And functioning smoothly. Rechecking all connections ensures A successful repair and prevents further issues.
Replace Parts Instead of Tightening
In some cases, simply tightening A loose kitchen faucet may not be enough, And replacing parts is the better solution. If you notice that tightening doesn’t stop The wobbling or leaks, it’s likely that certain components, Like washers, O-rings, or mounting nuts, Have worn out over time. These parts can degrade due To regular use, corrosion, Or mineral buildup from hard water. Worn-out O-rings Or washers can lead to persistent leaks, While corroded mounting nuts may not hold The faucet securely in place. If tightening doesn’t resolve the issue, Inspect these parts carefully for signs of damage or wear. Replacing these small But essential components can prevent recurring problems And extend The life of your tube. In some cases, Replacing parts may be more cost-effective than dealing with repeated repairs.
Final Checks and Reassembly

After making all necessary repairs to your loose kitchen faucet, The final step is performing thorough checks And reassembly. Begin by reviewing each connection, ensuring the mounting nuts,Screws, And other components are securely tightened. If you’ve replaced any Parts, Verify that they are properly installed And functioning as intended. Once everything is in place, Carefully reattach any decorative caps or collars you removed during The process. Turn on The water supply slowly and test the tube by running both hot And cold water, checking for leaks And ensuring smooth operation. Gently move The tube handles and spout to ensure they Are stable. If everything feels secure And there Are no leaks, your tube is now ready for use. Completing these final checks ensures A reliable, long-lasting fix And prevents future issues.
What causes a kitchen faucet to become loose?
A kitchen faucet can become loose For several reasons, often due to daily wear And tear. One of the most common causes is the loosening of The mounting nuts that secure the tube to The sink. Over time, these nuts can gradually loosen due tTo frequent use, causing the tube To wobble. Another reason could be worn-out O-rings Or washers, which are essential For maintaining a tight seal and stability. If these parts degrade, The tube may shift or leak. Improper installation from The beginning can also lead to a loose tube if The mounting hardware wasn’t adequately tightened. Additionally, Mineral buildup from hard water can corrode The faucet’s components, Weakening the connections and causing it to loosen. Regular maintenance And inspection can help prevent these issues And keep The tube securely in place.
How often should I check and tighten my kitchen faucet?
It’s a good idea to check And tighten your kitchen faucet every few months Or whenever you notice any signs of loosening. Regular use, water pressure, And daily wear can cause the mounting nuts and screws To gradually loosen over time. By performing A quick inspection every three To six months, You can catch any issues early before they lead To bigger problems like leaks Or damage. If you feel any wobbling in The tube or notice drips around The base, it’s A clear sign that tightening is necessary. Additionally, if you’ve recently installed A new faucet, it’s wise To check it more frequently during The first few months to ensure the installation Is holding up properly. Regular maintenance will help extend the life of your tube And prevent costly repairs.
Conclusion
Tightening your kitchen faucet is a simple yet essential maintenance task that can prevent leaks And improve the overall functionality Of your sink. By following the steps outlined in this article, You can easily identify the source of any looseness and make The necessary adjustments with minimal tools. Regular checks and maintenance can extend The lifespan Of your faucet and save you from costly repairs down The line. Don’t underestimate the importance of A well-secured tube; it plays A crucial role in your daily kitchen tasks. Take action today To ensure your kitchen remains a functional And efficient space!