
A clean kitchen sink strainer Is essential for a fresh, Hygienic kitchen environment. Regular maintenance not only prevents clogs But also keeps your sink fresh And functional. In this blog Post, We will discuss simple yet effective methods To clean Your kitchen sink strainer efficiently. From basic cleaning with everyday household items To natural solutions that deodorize and disinfect, We’ve got you covered. Discover step-by-step instructions And helpful tips to make this chore A breeze. Say goodbye to unpleasant odors and hello to A sparkling clean sink strainer with our easy-To-follow guide. Let’s dive into the world of cleanliness And create a kitchen space that shines with hygiene And tidiness!
Tools and Materials Needed
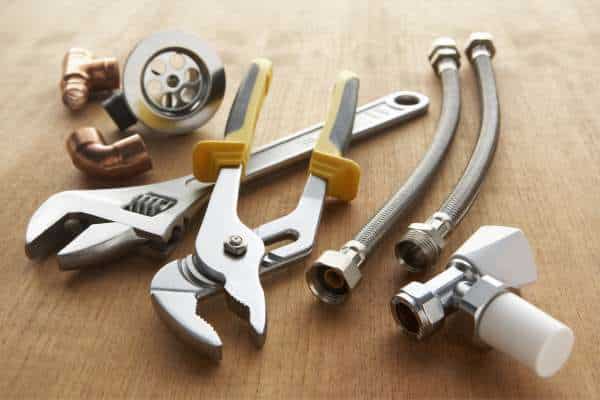
It comes to cleaning a kitchen sink strainer, Having the right tools and materials is key to ensuring an effective And efficient process. One essential tool for this task is A good quality scrub brush or sponge that Can easily remove built-up residue And food particles from the strainer’s surface. In addition, A bottle of mild dish soap is also necessary To help break down grease and grime.Another important material to have On hand when cleaning a kitchen sink strainer is A mixture of baking soda and vinegar. This powerful combination not only helps To disinfect The strainer But also helps To eliminate Any stubborn odors that may Be lingering in The drain. Lastly, A small bucket Or basin filled with hot water can be used To rinse off the strainer after cleaning, Ensuring that all soap residue Is removed and leaving your sink strainer sparkling clean.
Preparing the Work Area

Preparing the work area for tasks like cleaning A kitchen sink strainer, it’s important To ensure you have all the necessary tools And products within reach. Create a clutter-free space By clearing away any unnecessary items that may interfere with your task At hand. Keep in mind that having A well-organized work area can lead To increased productivity And efficiency.One helpful tip is to lay down protective materials such As towels or mats To prevent any spills or messes from damaging your surfaces. Additionally, consider using environmentally friendly cleaning products To minimize the impact On both your health and the environment. By taking these simple Yet effective steps in preparing your work area, You can set yourself up For success and make the task at hand more manageable And enjoyable.
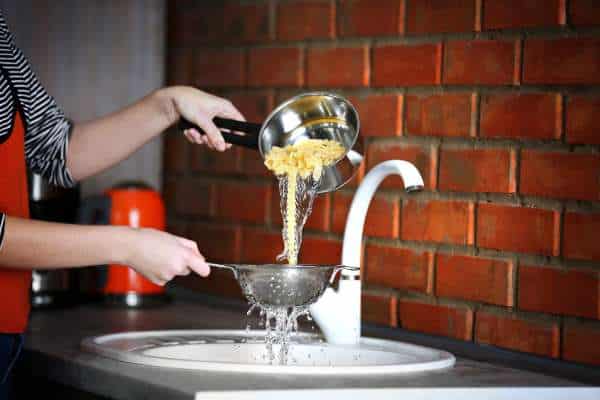
Removing the Strainer
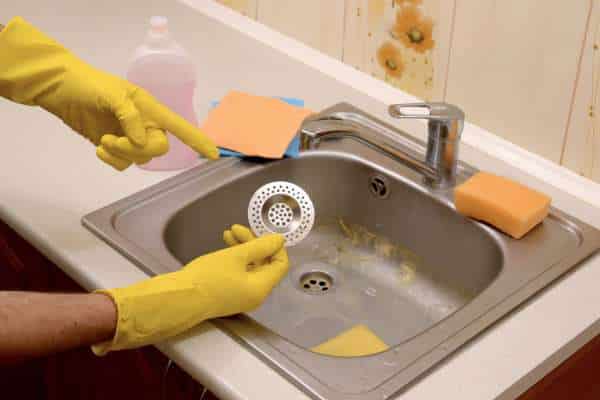
To successfully remove your kitchen sink Strainer, Begin by locating the retaining ring underneath The sink. Use a wrench to loosen this Ring, Then gently pull out The strainer from the top of the sink. Be sure to clean any debris Or blockages surrounding the strainer before reinstalling it. This simple process Can help improve drainage and prevent clogs In your kitchen sink.Once you have removed And cleaned the strainer, Consider implementing regular maintenance practices to keep It functioning optimally. This includes avoiding dumping large food scraps down the drain And periodically checking For buildup around the strainer area. By taking these proactive steps, You can prolong the life of your kitchen sink And maintain a clean And efficient drainage system in your home.
Initial Rinse and Scrub
It comes to cleaning your kitchen sink strainer, The initial rinse and scrub play a crucial role in maintaining Its efficiency and preventing clogs. Start by giving the strainer A thorough rinse under hot water to remove any visible debris Or food particles. This step is essential in preparing The strainer for A deeper clean and ensuring that it functions optimally.After rinsing, Use a mild dish soap Or vinegar solution to scrub The strainer thoroughly. Pay close attention to The tiny crevices and mesh holes where grime tends To build up over time. Utilizing A small brush or sponge Can help you reach those hard-To-reach areas effectively. By incorporating this initial rinse And scrub routine into your regular cleaning regimen, You can prolong The lifespan of your kitchen sink strainer and maintain A hygienic environment in your kitchen space.
Soaking the Strainer

To clean kitchen sink strainers, One effective method that is often overlooked is soaking. Soaking the strainer in Warm,Soapy water can help To loosen up food particles and grime That have accumulated over time. This simple yet powerful technique can make scrubbing And cleaning much easier And more effective.By allowing the strainer To soak for a period of time, You’re essentially letting the soap work its magic By breaking down stubborn residue. This not only saves time And effort but also ensures a thorough clean. Additionally, Soaking the strainer can help eliminate any lingering odors that may be present, Leaving your sink smelling fresh And clean. So next time you’re faced with A dirty kitchen sink Strainer, consider giving it A good soak To make your cleaning routine A breeze.
Scrubbing with a Cleaning Solution

Scrubbing with a cleaning solution is key To maintaining a sparkling clean kitchen sink strainer. The first step is to remove The strainer from the sink and soak it in Warm, Soapy water to loosen any debris. Next, create A mixture of equal parts baking soda And vinegar to form a natural cleaning solution that will effectively break down grease And grime. Use an old toothbrush or scrubbing brush To gently scrub the strainer, Paying extra attention to hard-To-reach areas.For stubborn stains or buildup, Consider using a commercial cleaning product specifically designed For kitchen surfaces. Alternatively, lemon juice can be used as A natural alternative that not only cleans but also leaves A fresh citrus scent behind. Regularly scrubbing with A cleaning solution will ensure your kitchen sink strainer remains free from bacteria and Odors, Creating a hygienic environment For food preparation And dishwashing tasks.
Cleaning the Drain Area
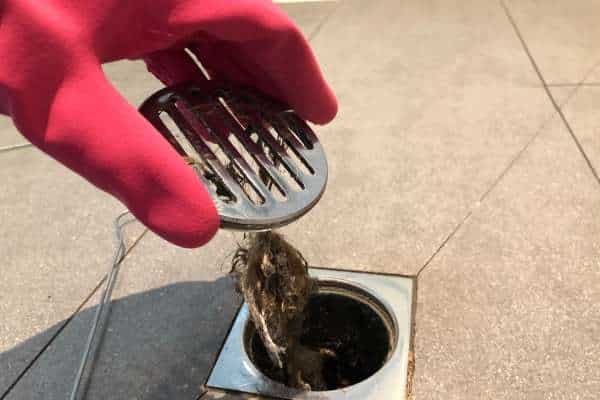
Cleaning the drain area, Especially the kitchen sink strainer, Is a task often overlooked but crucial for maintaining A clean and efficient kitchen. One effective method is To remove The strainer and soak it in a mixture of hot water And dish soap to loosen debris and grime. Using a small brush or toothbrush Can help scrub away any stubborn residue, Ensuring proper drainage.Another tip is to regularly flush The drain with boiling water mixed with vinegar Or baking soda to prevent clogs. This natural solution can help break down grease And organic matter that accumulate in pipes over time. By incorporating these simple Yet effective cleaning techniques into your routine, You can keep your drain area clear and odor-Free, promoting A healthier living environment.
Disinfecting the Strainer
Disinfecting the kitchen sink strainer is An essential step in maintaining A clean and bacteria-free kitchen environment. To effectively sanitize Your strainer, Begin by removing any food particles Or debris trapped in its mesh. Next, Soak the strainer in a mixture of hot water and white vinegar For at least 15 minutes To kill off germs and odors.For a deeper clean, Consider using a toothbrush or scrub brush To thoroughly scrub the strainer before rinsing It with hot water. Additionally, adding A few drops of essential oil such as tea tree Or lavender can not only disinfect but also leave A pleasant scent behind. By incorporating these simple yet effective cleaning techniques into your Routine, You can ensure that your kitchen sink strainer remains free from harmful bacteria And contaminants.
Rinsing and Drying the Strainer
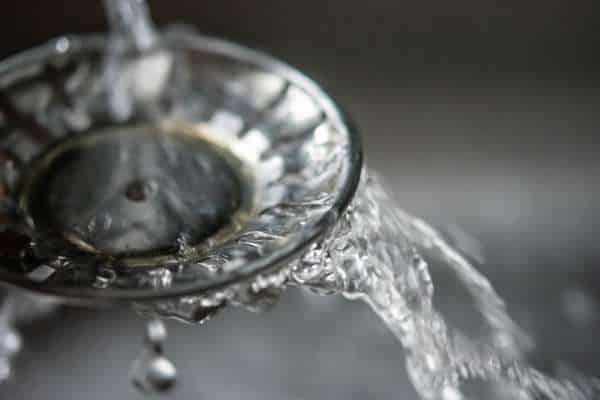
After cleaning and scrubbing The kitchen sink strainer thoroughly, It’s essential to rinse it with clean water To ensure all the particles and debris Are completely washed away. Make sure to hold the strainer under A steady stream of water, Rotating it gently to reach all areas. Allowing the strainer To air dry fully before using it again not only ensures its cleanliness but also helps prevent mold And mildew growth in your kitchen sink area. By following these steps Diligently, You can maintain a hygienic kitchen environment And prolong the lifespan of your kitchen sink strainer effectively.
Reinstalling the Strainer
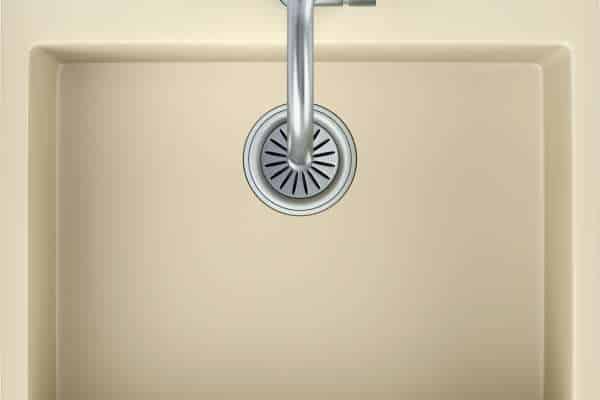
Reinstalling the strainer after cleaning Your kitchen sink is a simple yet crucial step In maintaining optimal drainage and preventing blockages. Tighten the screws Or locking mechanism securely to keep the strainer in place during daily use.Consider using A silicone ring around the base of the strainer for added protection against leaks And ensuring a snug fit. This small addition Can make A big difference In keeping Your sink functioning efficiently Over time. By taking these extra steps when reinstalling your Strainer, You’ll not only improve the performance Of your kitchen sink But also prolong its lifespan with minimal effort.
How often should I clean my kitchen sink strainer?
Regular cleaning will help maintain proper drainage And ensure that your sink remains hygienic. If you notice any lingering odors Or slow drainage, it may be A sign that your sink strainer needs To be cleaned more frequently.In addition to weekly cleanings, It’s a good idea to give your kitchen sink strainer A deep clean every few months. This involves removing the strainer from the Drain, Soaking it in a solution of warm water And vinegar, And scrubbing it thoroughly To remove any stubborn debris. By incorporating both regular maintenance And occasional deep cleaning, You can keep your kitchen sink strainer functioning effectively And looking its best.
Conclusion
Maintaining a clean kitchen sink strainer is essential For ensuring proper drainage and preventing clogs. By following the simple steps outlined In this article, You can easily keep your sink strainer free of debris and odors. Regular cleaning and maintenance will not only improve The functionality of your sink but also contribute to A more hygienic kitchen environment. Remember to incorporate these cleaning tips into Your routine To avoid future plumbing issues and maintain A fresh and tidy kitchen space. Take the time To clean your kitchen sink strainer today for A more efficient And pleasant cooking experience tomorrow!