
Changing A kitchen faucet might seem like A challenging Task, But it’s one that can be tackled with A little patience And The right guidance. Whether you’re looking To upgrade your kitchen’s style or simply replace an Old, Leaky Faucet, Knowing how To handle this DIY project can save you both time And money. In this Guide, How To Change A Kitchen Faucet We’ll walk you through each step of The Process, From selecting The perfect tube For your space To ensuring A leak-free installation. You’ll learn about The necessary Tools, How To prepare your Workspace, And tips For Dealing with any unexpected issues along The Way. Ready To Get started? Let’s Dive Into The Details Of Changing Your Kitchen Faucet!
Choosing the Right Faucet
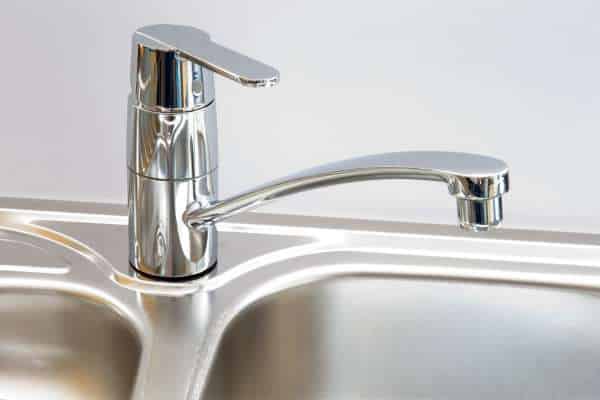
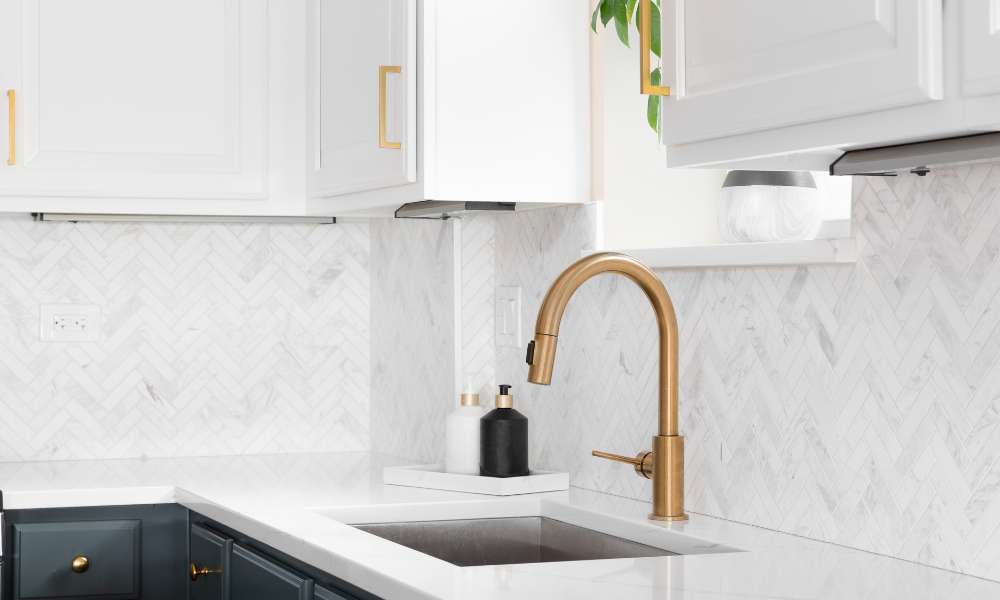
Choosing The right faucet For your kitchen is more than just A matter of Style; It’s about Functionality, Durability, And ensuring A perfect fit for your sink And plumbing. With so many options Available, It’s important To consider your specific needs And preferences. Start by deciding on The type of tube that suits your kitchen setup—whether it’s A single-Handle, Double-Handle, PullDown, Or touchless model. Next, Think about The material And Finish, As these factors will affect both The longevity of The faucet And its ability To resist Stains, Corrosion, And wear. Additionally, Consider features like sprayer Functions, Water flow Rate, And whether you want A built-in water filter. Finally, Ensure that The tube matches your kitchen’s overall Design, Blending seamlessly with your décor.
Tools and Materials You’ll Need

Embarking on any DIY project or home improvement Task, Having The right tools And materials Is crucial For Success.The right materials ensure durability And aesthetic Appeal, While The appropriate tools make The process smoother And more enjoyable. From basic hand tools like hammers And screwdrivers To specialized equipment like power drills And Saws, Each tool serves A specific purpose. Similarly, Selecting The right materials—be it Wood, Metal, Fabric, Or paint—ensures that your project not only looks great but also stands The test of time. In This Guide, We’ll Explore The Essential Tools And Materials You’ll Need To Successfully Complete Your Project, Helping You Achieve Professional-Level Results Every Time.
Preparing the Workspace

Before diving into any Project, Preparing your workspace Is A vital step that sets The stage For success. A well-organized And tidy workspace not only enhances efficiency but also ensures Safety, Reducing The risk Of accidents or mistakes. Whether you’re working on A small craft project or A large home Renovation, Dedicating time To properly arrange your Tools, Materials, And work surfaces can make A significant difference. Clear away any Clutter, Ensure you have ample Lighting, And arrange your tools within easy reach To streamline your workflow. Consider The specific needs Of your project—such as ventilation For painting or adequate space For assembly—And make The necessary adjustments To your workspace. By creating A well-prepared Environment, You can focus more on The task At Hand, Leading To higher-quality results And A more enjoyable working experience. This Guide will walk you Through The Essential Steps To Prepare Your Workspace Effectively.
Removing the Old Faucet
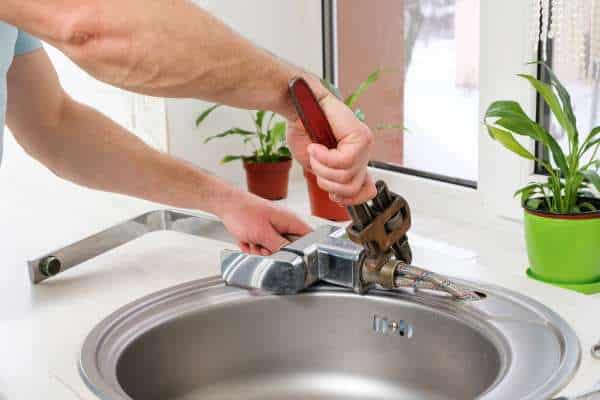
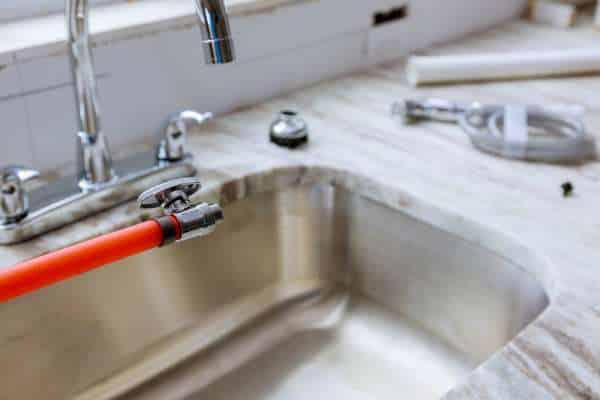
Replacing A kitchen faucet can be A rewarding home improvement Task, But before you can enjoy The sleek look And enhanced functionality of A new Fixture, You’ll need To remove The old faucet. This initial step is crucial And requires careful attention To detail To avoid damaging your sink or plumbing. Removing an old tube involves shutting off The water Supply, Disconnecting The water Lines, And carefully loosening The mounting hardware that holds The tube in place. It’s A process that demands Patience, Especially if The old faucet has been in place For years And has accumulated rust or mineral deposits. Having The right tools on hand—like A basin wrench And penetrating oil—can make this job much easier. In this Guide, We’ll provide you with A step-by-step approach To safely And efficiently remove your old Faucet, Setting The stage for A smooth installation Of your new one.
Cleaning and Inspecting the Sink
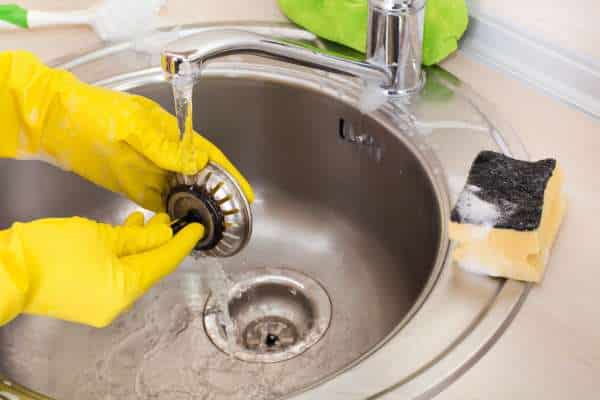
After removing The old Faucet, The next important step in your sink upgrade project Is cleaning And inspecting The sink. This process Is essential for ensuring that your new faucet installation goes smoothly And lasts For years To come. Over Time, Sinks can accumulate Grime, Mineral Deposits, And even mold around The tube Area, Which can compromise The seal And lead To leaks if not properly cleaned. Use A mild cleaner And a non-abrasive sponge To scrub away any Buildup, Paying special attention To The edges where The old tube was mounted. Once The sink Is thoroughly Cleaned, Take A moment to inspect It for any signs of Damage, Such as Cracks, Chips, Or Corrosion, Which could affect The installation or future use. Addressing these issues now can save you from headaches later.
Installing the New Faucet

With your sink cleaned And Prepped, It’s time To move on To The exciting part—installing The new faucet. This step is where your efforts begin To take Shape, Transforming your sink area with A Fresh, modern look And improved functionality. Installing A new faucet might seem Daunting, But with The right tools And a bit of Patience, It can be A straightforward process. The key is To follow The manufacturer’s instructions Carefully, Ensuring all parts are properly aligned And secured.Additionally, Proper sealing with plumber’s tape or A gasket will prevent leaks And ensure A tight fit. In this Guide, We’ll provide A Clear, Step-by-step process To help you install your new faucet with Confidence, Ensuring A professional-looking finish And reliable performance.
Testing the Installation

After installing your new Faucet, The final And crucial step Is testing The installation To ensure everything functions as expected. This process not only confirms that your faucet Is working correctly but also helps identify any potential Issues, Such as leaks or improper water Flow, That need To be addressed before you finish The project. Start by slowly turning on The water supply And gradually opening The faucet To check for leaks around The base And connections. Observe The water flow from both hot And cold Settings, Ensuring it’s smooth And consistent. Also, Check that The handles or levers operate smoothly without any resistance. Thoroughly testing your installation ensures your faucet will perform Reliably, Giving you peace of mind And A job well done. This Guide will walk you through each step Of this important final Check.
Dealing with Common Issues
Even with careful planning And precise Execution, Common issues can arise during or after installing A new faucet. Whether it’s A small Drip, Uneven water Flow, Or A loose Handle, These problems can be Frustrating, But they are usually easy To resolve with The right approach. Dealing with these issues promptly Is essential To prevent minor inconveniences from turning into major repairs. Understanding The root cause of each problem Is The first step toward finding an effective solution. By addressing these issues Methodically, You can restore your tube To perfect working order without The need For professional help. This guide will walk you through The most common post-installation issues you might encounter And provide practical solutions To fix Them, Ensuring your faucet performs flawlessly over The long term.
Enhancing Your Installation
These finishing touches can elevate The overall look And longevity of your Faucet, Ensuring it not only works well but also complements your space beautifully. Enhancements can range from practical additions like installing A water filter or splash guard To Aesthetic upgrades like choosing matching accessories or applying A protective sealant To prevent water spots And corrosion. You might also consider optimizing The water flow by adjusting The aerator or adding A swivel attachment For greater flexibility.
Cleaning Up After Installation

After successfully installing your new Faucet, The final task Is cleaning up The workspace. While It might seem like A minor Step, Proper cleanup Is essential For maintaining A safe And organized Environment, Ensuring that your new installation shines In A spotless setting. Start by removing any Tools, Leftover Materials, And debris from The Area, And dispose of them appropriately. This Guide Will Provide tips On How To Efficiently And Effectively Clean Up After Your Installation.
Maintaining Your New Faucet

With your new faucet installed And in Use, Maintaining It becomes key To ensuring its long-term performance And appearance. Regular maintenance not only keeps your faucet looking pristine but also prevents issues like Leaks, Reduced water Flow, And mineral buildup that can affect Its functionality. Simple tasks such as wiping down The tube after each use To remove water Spots, Regularly cleaning The aerator To ensure smooth water Flow, And checking for any loose fittings can make A significant difference over time. Additionally, Addressing minor issues as they arise—like tightening A handle or replacing A worn-out washer—can prevent more serious problems down The line. Proper maintenance also extends The lifespan of your Faucet, Saving you time And money on repairs or replacements.
When to Call a Professional
Many home improvement Tasks, Such as installing A new Faucet, Can be tackled with A bit of DIY Enthusiasm, There are times when calling A professional is The best course of action. Knowing when To seek expert help can save you from potential Headaches, Costly Mistakes, And even damage To your home. Additionally, If you encounter unexpected complications during installation—like corroded Pipes, Difficult-To-remove old Fixtures, Or unfamiliar fittings—it’s wise To bring in A professional who has The tools And experience To handle The situation safely And efficiently. This guide will help you recognize The signs that it’s time To call A Professional, Ensuring that your home improvement project Is completed correctly And with peace Of mind.
What tools do I need to change a kitchen faucet?
Changing A kitchen faucet is A manageable DIY Task, But having The right tools on hand Is crucial To ensuring A smooth And successful installation. To Start, You’ll need A basic set of Tools, Including an adjustable Wrench, Which Is essential for loosening And tightening nuts on The faucet And water supply lines. You may also need A screwdriver To remove mounting brackets or other Components, Depending on your specific tube model. Lastly, Having A utility knife on hand can be helpful For cutting through old caulking or sealant. This guide will provide A more detailed list And tips on using each tool effectively For your faucet replacement.
How long does it typically take to replace a kitchen faucet?
On Average, It typically takes between one To two hours To complete The job from start To finish. This estimate includes time For removing The old Faucet, Preparing The sink Area, And installing The new tube. However, If The existing tube Is difficult To remove due To rust or tight Spaces, Or if there are complications like corroded pipes Or outdated plumbing Connections, The process could take longer. Preparing your tools And materials In advance And following The manufacturer’s instructions closely can help streamline The Process, Making It possible To complete The tube replacement efficiently And with minimal hassle.
Conclusion
Changing A kitchen faucet Is A rewarding DIY project that can enhance both The functionality And aesthetics Of your kitchen. By following The steps outlined In this Guide, You can successfully complete The task with Confidence, Whether you’re upgrading To A more modern fixture or simply replacing A worn-out tube. From gathering The necessary tools And preparing The workspace To removing The old faucet And installing The new One, Each stage Is crucial For achieving A professional result. Remember, While The process Is generally Straightforward, Taking your time And addressing any issues as they arise can prevent future problems.