

A loose single-handle kitchen faucet base can be more than just An annoyance—it can lead to water leaks, reduced functionality,And potential damage to your countertop. If your faucet wobbles or feels unstable,It’s time to tighten the base before small problems become bigger ones. Fortunately, Fixing a loose tube base is a simple DIY task that doesn’t require any specialized skills, Just a few basic tools. In this guide, how to tighten a loose single handle kitchen faucet base We’ll walk you through the steps to securely tighten the base of your kitchen faucet, Ensuring it functions smoothly and stays in place for the long term. From turning off the water supply to securing the mounting nuts, You’ll learn how to fix the issue in no time. With A few minutes of Work, You can prevent future leaks and keep your faucet working like new.
Tools You’ll Need
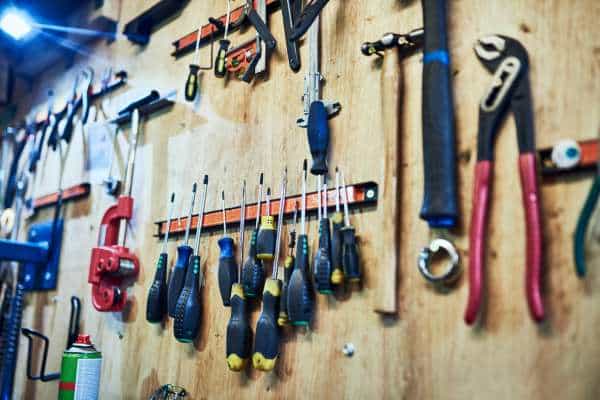
To tighten a loose single-handle kitchen faucet base, Having the right tools makes the job easier and more efficient. You’ll need an adjustable wrench, Which is crucial for loosening and tightening the mounting nuts that hold The tube in place. A hex key (Allen wrench) may be necessary if you need To remove the tube handle to access the Base, especially for faucets with A set screw. A flashlight is helpful To illuminate the often dimly lit space under the sink, Ensuring you can clearly see the parts you’re working on. Additionally, Having a towel or sponge handy can help clean up any water Or grime that may appear during the process. With these basic tools, You’ll be able To easily tighten your tube base and restore stability To your sink.
Turn Off the Water Supply

Before you begin tightening a loose kitchen faucet Base, It’s essential to turn off the water supply to avoid any accidental leaks or flooding. Start by locating The shutoff valves under your sink—there should be two valves, One for hot water And one for cold. Turn both valves clockwise to close them completely. If you don’t have shutoff valves under the sink, you may need to turn off The main water supply to your home. Once the water is off, Test the faucet by turning it on to ensure that no water comes out. This step ensures that you Can work safely without worrying about water damage. After you’ve confirmed the water is off, You’re ready to move on to tightening the tube base And making the necessary adjustments.
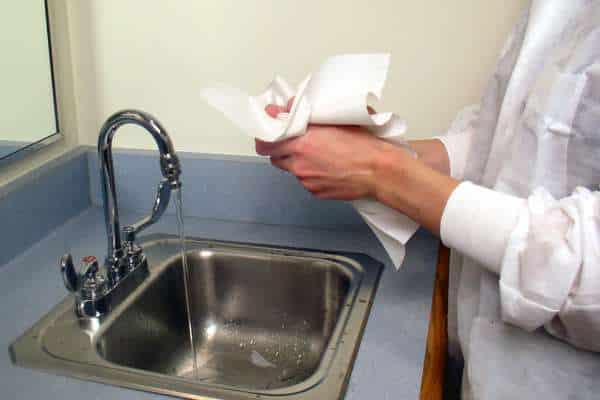
Clear the Area Under the Sink
Before tightening A loose kitchen faucet base, It’s important to clear the area under your sink to give yourself enough room to work comfortably. Start by removing everything stored under the sink, Ensuring you have a clear and organized workspace. This not only makes it easier To see the parts you’re working On, But it also helps prevent any accidental damage To your belongings If water spills or tools slip. Once the area is clear, Place a towel or mat under the sink to catch any water Or debris that might fall while you’re working. With the area Prepared, you’re ready To start tightening your faucet securely.
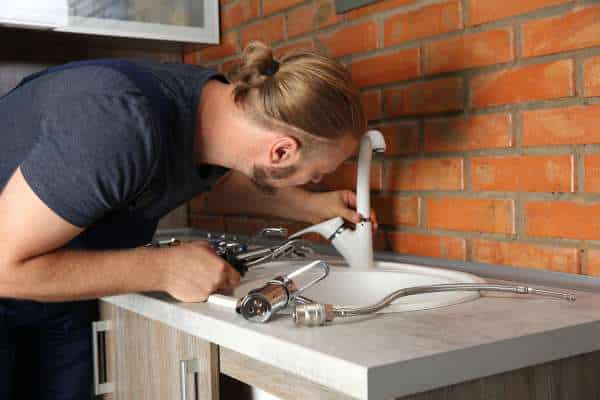
Locate the Mounting Nuts
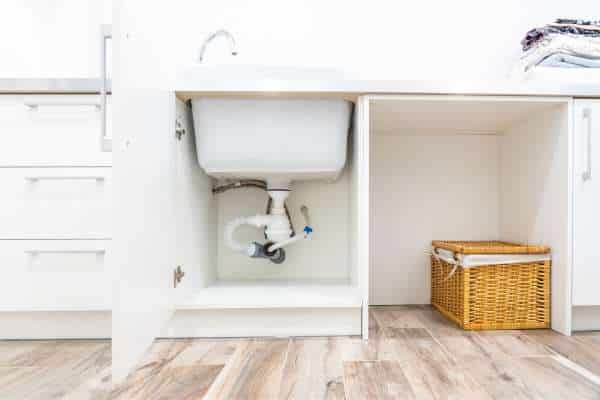
To properly tighten a loose kitchen faucet base, The next crucial step is locating the mounting nuts. These nuts are typically found underneath the sink, Securing the tube to the countertop or sink deck. After clearing the area under the sink, Use a flashlight to help you see the nuts more clearly, As the space can be dimly lit. The mounting nuts Are usually positioned around the base of the faucet’s body, Where it attaches to the sink. Depending on your tube Type, you may find either one Or two nuts. Once you’ve located them, You’re ready to proceed with tightening, ensuring the faucet base is secure And sturdy again.
Use the Right Wrench or Tool

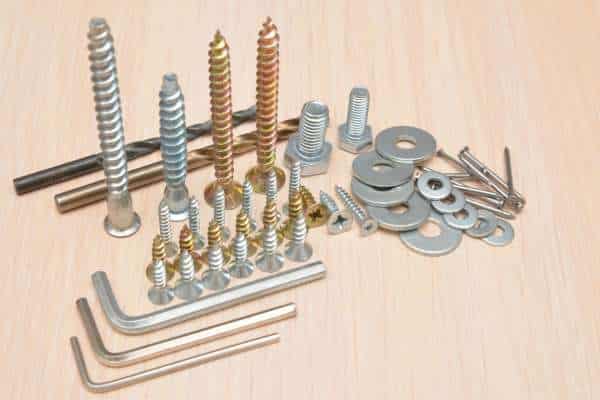
Using the right tool is key to successfully tightening the loose base of A single-handle kitchen faucet. The most commonly needed tool for this task is An adjustable wrench, which can fit various sizes of nuts. If your tube has mounting nuts, Use the adjustable wrench to firmly grip and tighten them. For some models, you might require A basin wrench, A tool specifically designed for hard-to-reach nuts under the sink. If your tube is secured with screws instead of nuts, You’ll need a Phillips or flathead screwdriver, Depending on the type of screws. Additionally, A hex key (Allen wrench) may be required if your faucet handle needs To be removed first.
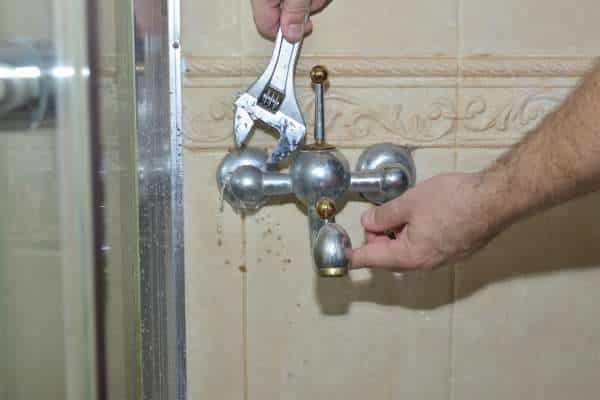
Tighten the Mounting Nuts
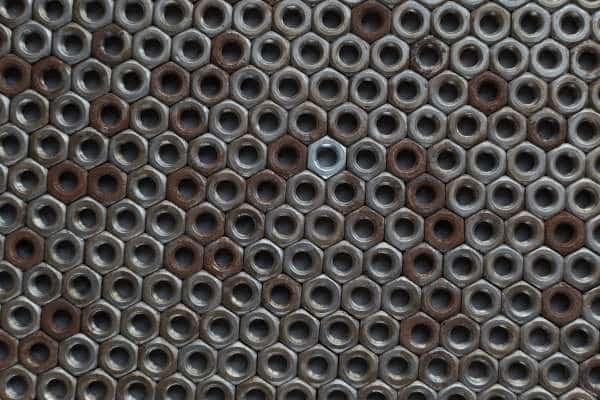
Once you’ve located the mounting nuts underneath the sink, It’s time to tighten them to secure the loose faucet base. Using an adjustable wrench Or basin wrench, carefully grip the nuts And turn them clockwise to tighten. Be cautious not to overtighten, As this can damage the tube or the sink surface. It’s important to apply even pressure And check the tube base above the sink as you tighten To ensure it remains properly aligned. Tightening the nuts should eliminate The wobbling and secure the tube firmly in place. After tightening, Give the tube a gentle shake to confirm that it’s stable And doesn’t shift. This simple adjustment can restore your faucet’s stability And prevent future leaks or damage caused by A loose base.
Check for Proper Alignment
After tightening the mounting nuts, It’s essential to check for proper alignment of the tube base. Misalignment can cause The faucet to look crooked or affect its functionality. Stand above The sink and visually inspect the tube To ensure it is positioned correctly And centered over the sink. If the base appears slightly off, You may need to loosen the mounting nuts slightly, Adjust the faucet’s position, And retighten the nuts. Proper alignment not only enhances the appearance Of your kitchen but also ensures that the tube operates smoothly.
Reattach Handle if Removed
After securing the tube base, It’s time to reattach the handle if it was removed for easier access. Start by carefully aligning The handle with the faucet’s valve stem. Tighten it gently, Ensuring it’s secure but not overly tight to avoid damaging The screw or handle. For other tubes, Use the appropriate screwdriver to fasten the handle in place. Once the handle is reattached, Test its movement to make sure it operates smoothly And is correctly aligned with the tube. Ensuring the handle Is properly reattached will not only restore your faucet’s functionality But also give your kitchen A finished, Professional look after tightening the base.
Replace Kitchen Faucet 3 Hole
Replacing a kitchen faucet with A 3-hole configuration can be a simple yet impactful upgrade For your kitchen. First, choose A tube that matches the existing 3-hole layout to ensure a seamless fit. Before starting, Turn off the water supply beneath the sink And disconnect the water lines using An adjustable wrench. Next, remove The old tube by loosening the nuts underneath And lifting it out of the sink. Clean the area around the holes to ensure A smooth surface for The new faucet. When installing the new tube, Align it with the three holes and secure It from underneath with mounting hardware. Reconnect The water supply lines and test for leaks. With the right tools and patience, Replacing a 3-hole kitchen faucet can refresh The look and function of your sink area in no time.
Turn the Water Back On
After completing the tightening or replacement Of your kitchen faucet, the next step is to turn the water supply back on. Start by slowly opening The shutoff valves under the sink—both the hot And cold water valves—by turning them counterclockwise. Opening them slowly helps To prevent any sudden water pressure from causing leaks or damage To the tube. Once the valves are fully open, Turn on the tube to let the water run for a few moments, Checking for proper water flow and making sure there Are no leaks around the base or connections. After verifying that everything Is functioning correctly, Your faucet should now be securely in place And ready for regular use.
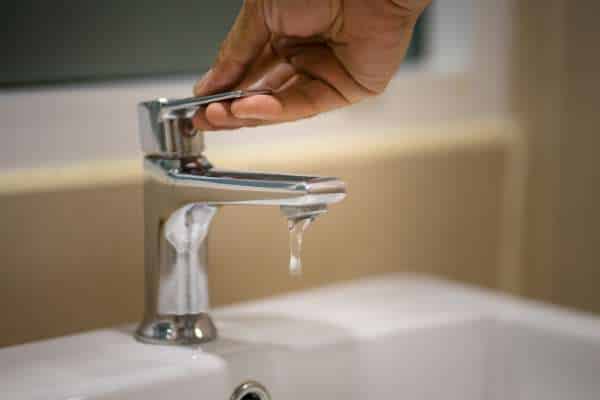
Test the Faucet

Testing the faucet after tightening or replacing it Is crucial to ensure everything is functioning properly. Start by turning on the tube handle to check the water flow And temperature. Make sure both the hot and cold water Are operating smoothly And without any unusual noises. Observe the faucet base closely while The water is running to look for any signs Of leaks around the connections And mounting nuts. Additionally, wiggle the faucet gently To ensure it remains stable and doesn’t wobble. A well-secured tube should feel solid without any movement. Once you confirm that the tube Is functioning correctly And securely, you can enjoy The improved performance and aesthetics Of your kitchen sink.
What if my faucet is still loose after tightening the nuts?
Faucet is still loose after tightening the nuts, There are several potential issues to investigate. Inspect the mounting hardware And the sink surface for any irregularities Or signs of wear that could compromise stability. Sometimes, The tube may not be compatible with your sink configuration, Which might require a tube mounting plate for additional support. Additionally, Ensure that all washers or gaskets are in place, As these components help create a tighter seal And prevent movement. If you’ve tried these solutions and the faucet remains unstable, It’s wise to consult a professional plumber who can diagnose The problem and recommend A proper fix to ensure your tube is securely installed.
Can I tighten a loose faucet without turning off the water supply?
While it may be tempting to tighten A loose faucet without turning off the water supply, It’s not advisable. Keeping the water on can lead To unexpected leaks or splashes while you’re working, which could result in water damage To your cabinets or flooring. When you attempt To adjust the faucet, turning the handle could release water pressure, Causing water to spray out. To ensure a safe And mess-free repair, it’s best to turn off The water supply before you begin. This precaution allows you To tighten the mounting nuts or screws without the risk Of water flow. Once you’ve made The necessary adjustments And ensured everything is secure, You can turn the water supply back on and check for any leaks, Ensuring your tube operates smoothly And reliably.
Conclusion
Tightening a loose single-handle kitchen faucet base is A simple yet crucial task that can prevent bigger problems down the road, Such as leaks or countertop damage. By following the steps outlined—turning off the water supply, Accessing the mounting nuts, And securing the faucet—you can ensure your kitchen tube stays firm And functional for years to come. Regular maintenance, Such as checking the tightness of your tube base, Can save you from costly repairs or even A complete tube replacement in the future. If you encounter any issues like stripped screws Or persistent looseness, don’t hesitate to consult A professional plumber. With just a few basic tools and a little time, Your tube will be as good as new. So, Take care of those small issues before they grow into bigger ones, And enjoy a steady, stable faucet in your kitchen!