
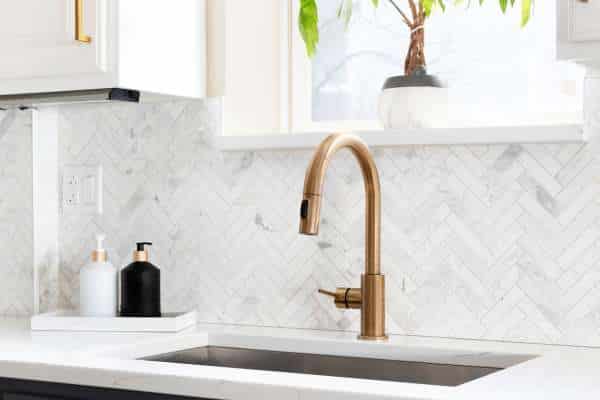
Replacing a 3-hole kitchen faucet might seem like a daunting task, But with a few simple steps, it’s a job you can tackle on your own. Whether your current faucet is outdated, leaking, Or simply ready for an upgrade, Installing a new one can bring fresh functionality And style to your kitchen. In this guide, We’ll walk you through the process of replacing a 3-hole kitchen faucet, How to Replace Kitchen Faucet 3 Hole From gathering the right tools And turning off the water supply to securely installing The new fixture. You’ll learn how to safely disconnect the old Faucet, Prepare the sink area, and ensure a tight, Leak-free fit for your new faucet. With the right approach and a bit of patience, You can transform your kitchen sink in just A few simple steps—no professional plumber required!
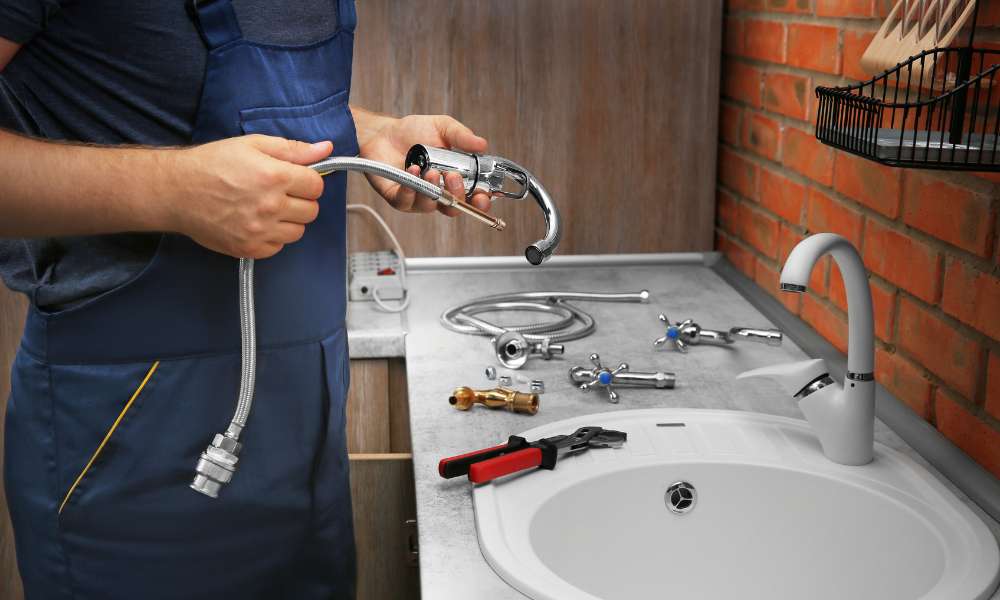
Gather Necessary Tools and Materials
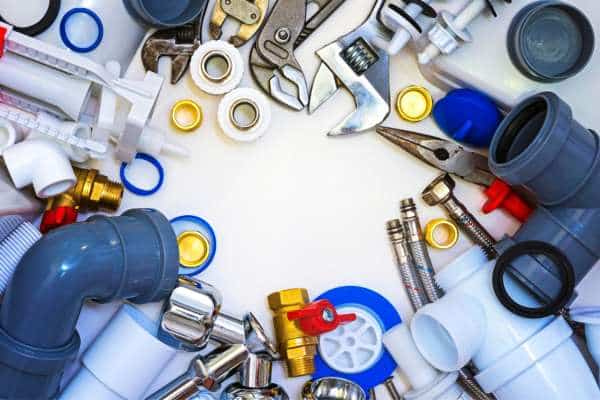
Before starting any faucet replacement project, Gathering the right tools and materials is essential to ensure A smooth process. You’ll need basic plumbing tools like An adjustable wrench, Basin wrench, and screwdriver. Additionally, Have A bucket or towel handy To catch any residual water when disconnecting the old tube. Plumber’s tape is a must To secure The threaded connections, preventing leaks, while A putty knife can help remove any old caulking around the tube base. Some faucets also require A mounting plate or gasket, So double-check your new tube’s instructions To see if these items are included Or need to be purchased separately. Having everything you need within reach makes The job quicker and prevents unnecessary trips to the hardware store, Allowing you to focus on installing your new 3-hole tube efficiently And effectively.
Turn Off the Water Supply
Turning off the water supply is A crucial first step in replacing a kitchen faucet. Start by locating the shut-off valves beneath your sink—typically one for hot water And another for cold. Turn each valve clockwise until it’s fully closed; this will stop The water flow to the tube and prevent unwanted leaks Or messes during removal. If your sink doesn’t have dedicated shut-off valves, you’ll need To turn off the main water supply for your home. Once the water is off, Turn the tube on To release any remaining water in the lines. This step reduces pressure And ensures A dry Workspace, Making it easier to remove the old faucet without excess water dripping down. By taking a few minutes To secure the water Supply, you’ll have a safer And cleaner environment for the rest of the installation process.
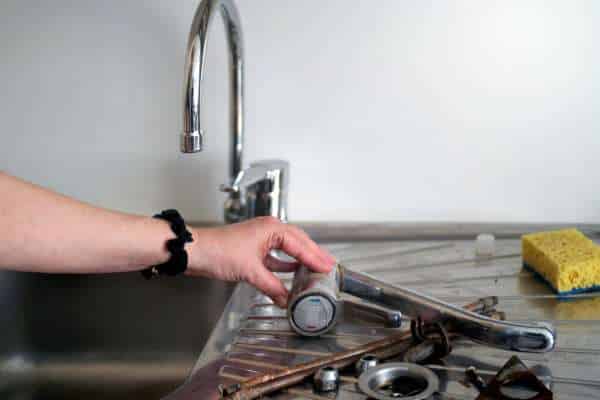
Disconnect the Old Faucet

Disconnecting the old faucet is where the real hands-on work begins, And it’s essential to proceed carefully to avoid damaging any pipes Or fixtures. Start by using an adjustable wrench or basin wrench to loosen The nuts securing the tube to the sink. These nuts Are typically located beneath the sink, So you may need to lie on your back Or use a flashlight To see clearly. Once the mounting nuts are loose, Detach the water supply lines from the faucet by turning the connections counterclockwise. Be prepared for A small amount of water to drip out, So having a bucket or towel nearby is helpful. Finally, gently pull The old tube out from above the sink. With the old tube removed, You’re ready to clean up the area And prepare for the new installation.
Clean the Mounting Area
After removing the old faucet, it’s time to clean the mounting area thoroughly To ensure a smooth installation for the new fixture. Begin by wiping down The sink surface where the tube was positioned, Removing any grime, mineral buildup, Or old caulk that may have accumulated over time. A putty knife can be useful here, Especially for scraping off stubborn bits of residue. For tougher stains, use a mild cleaner or A mixture of vinegar and water To dissolve any remaining debris. Once the surface is clean and dry, Inspect the holes to confirm they’re clear Of any obstructions. Cleaning the mounting area is crucial for creating A tight seal when installing the new tube, Helping to prevent leaks And ensuring the fixture sits securely And flush with the sink surface.
Install the New Gasket

With the mounting area cleaned, it’s time to install the new gasket to create a secure, Watertight seal for your faucet. Most new faucets come with a rubber Or plastic gasket, which sits between the tube base and the sink. Begin by placing the gasket on the sink, Aligning it with the three mounting holes. If your tube setup includes A mounting plate or escutcheon, Position it over the gasket before inserting the tube. This helps prevent water from seeping under The tube and protects the sink surface. Once the gasket is in place, Double-check the alignment to ensure it’s positioned correctly, as this will impact The stability of the tube. Installing the gasket properly is an essential step To ensure The tube sits flush with the sink And remains securely anchored during use.
Position the New Faucet
Now that the gasket is in place, It’s time to position the new faucet on the sink. Carefully align the faucet’s mounting posts with the three holes, Making sure it sits snugly on top of the gasket Or mounting plate. If your tube has integrated supply lines, Feed them through the center hole first, followed by the mounting posts. Take a moment To ensure The tube is centered and facing the correct direction—this will make The final installation look neat and professional. Once you’re satisfied with the positioning, Apply gentle pressure to keep it in place while you prepare To secure it from below. Properly aligning The tube at this stage not only enhances its appearance but also helps prevent leaks by ensuring A tight fit against the sink surface.
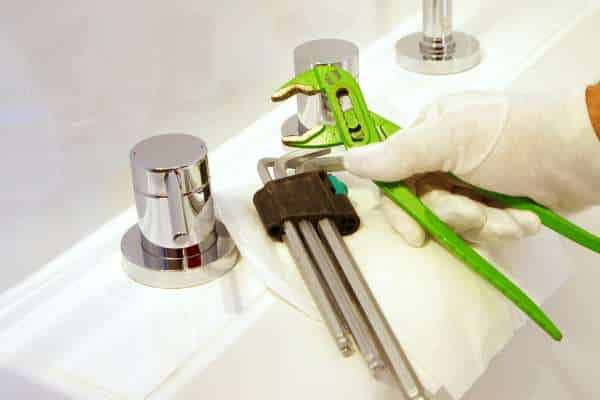
Secure the Faucet with Mounting Nuts
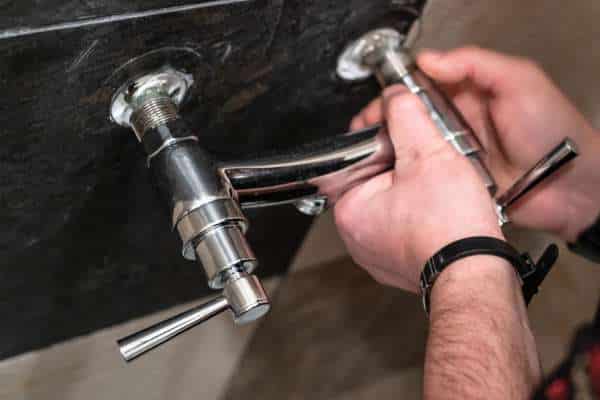
Securing the faucet with mounting nuts is A critical step To ensure stability And prevent any unwanted movement. From underneath the sink, Locate the faucet’s mounting posts and attach the provided nuts by threading Them onto each post. Tighten these nuts by hand first, Then use a basin wrench to ensure a firm grip, Avoiding over-tightening to prevent damaging the sink or tube components. As you tighten the nuts, Periodically check the tube alignment from above To ensure it remains centered. Some tube models include additional washers Or brackets that go between The mounting nuts and the sink for added stability—follow the manufacturer’s instructions For these parts. Securing The tube properly with mounting nuts will provide a solid, Stable base, allowing the faucet to function smoothly without wobbling Or shifting during regular use.
Connect the Water Supply Lines
With the faucet securely in place, The next step is to connect the water supply lines. Begin by attaching the hot And cold water lines to the corresponding valves under the sink; These connections are usually labeled Or color-coded for easy identification. Use an adjustable wrench To tighten the connections snugly, But be careful not to over-tighten, as this can damage The threads or cause leaks. For added security against leaks, Wrap plumber’s tape around the threaded ends of the supply lines before connecting them. Properly connecting the water supply lines is essential For achieving a steady flow Of water through your new faucet, And it minimizes the risk of leaks or drips once you turn the water back on.
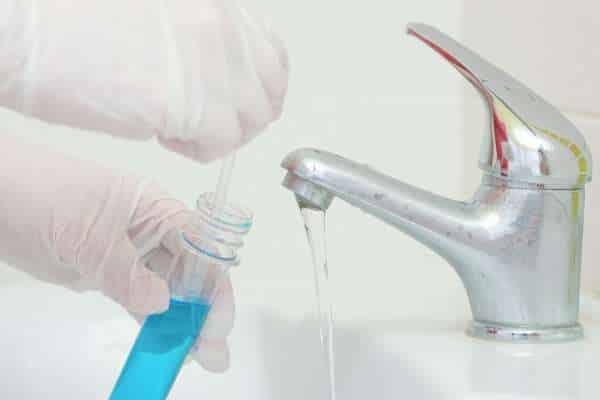
Apply Plumber’s Tape
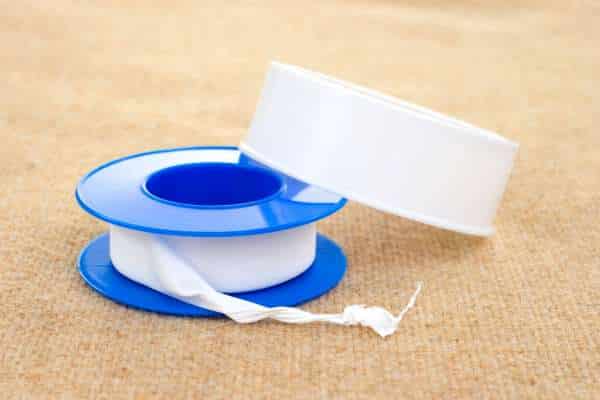
Applying plumber’s tape, also known as Teflon tape, Is a simple yet essential step to ensure leak-free connections in your faucet installation. Wrap the tape around the threaded ends Of each water supply line before attaching them To the faucet and shut-off valves. To apply it correctly, Hold the tape taut and wrap it clockwise, Overlapping slightly as you go To cover the threads evenly. A few layers Of tape are usually sufficient, so avoid overdoing it, As excess tape can make it difficult To screw on the fittings properly. By taking a few extra minutes To apply plumber’s tape, you’re adding an extra layer Of leak protection, which is especially important for long-term durability And reliable water flow.
Replace a Kitchen Faucet With a Single Handle
Replacing a kitchen faucet with A single-handle model can streamline your sink’s functionality And give it a modern look. Start by turning off the water supply, Then remove the existing tube by disconnecting the water lines And loosening The mounting nuts underneath the sink. Single-handle tubes are generally easier to install due To their compact design. Position the new tube so that The handle is in a convenient spot—typically on the right side For right-handed users. Secure it from below with The provided mounting nuts, ensuring it’s firmly in place. Finally, Connect the water lines, Applying plumber’s tape to the threads To prevent leaks. Turn the water back on, test the faucet, And enjoy the simplicity Of single-handle control.
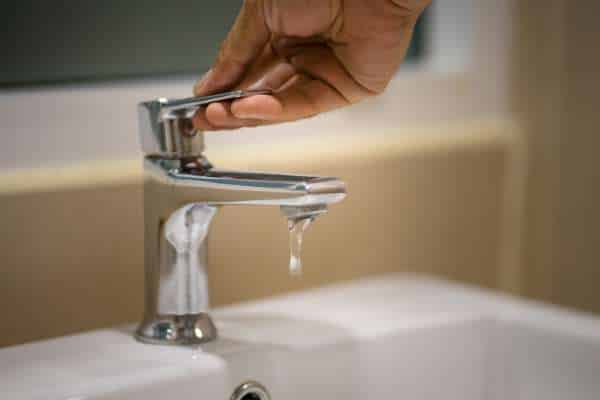
Test the New Faucet
Testing your newly installed faucet is the final step To ensure everything is functioning correctly and that there Are no leaks. Begin by slowly turning on The water supply valves under the sink, Watching closely for any signs of leaks around the connections. Next, turn on the faucet and test both hot and cold water, Ensuring a smooth and steady flow. Check beneath The sink as the water runs to confirm there are no drips or moisture Around the supply lines or mounting nuts. If any leaks are present, turn off the water,Tighten the connections as needed, And reapply plumber’s tape if necessary. Once everything is secure, Test the faucet handle and spray options (if applicable) to ensure they operate smoothly.
Can I replace a 3-hole faucet with a single-hole faucet?
Yes, you can replace a 3-hole faucet with A single-hole tube by using a deck plate (or escutcheon) to cover The extra holes. Many single-hole faucets come with an optional deck plate that sits at the base of the tube, Extending across the sink To hide unused holes. This makes it possible to install a sleek, Modern tube without exposing the additional holes in a standard 3-hole sink. Secure the faucet according to the manufacturer’s instructions, And The deck plate will keep the installation looking clean And professional. This approach not only enhances the aesthetics Of your sink but also allows you To upgrade your tube style without needing To modify the sink itself.
Do I need a plumber to replace a kitchen faucet?
In most cases, you don’t need A plumber to replace a kitchen faucet, As many faucet installations Are straightforward And manageable with basic tools and some DIY knowledge. Replacing a tube typically involves turning off The water supply, Removing the old fixture, And installing the new one by connecting the water lines And securing it with mounting nuts. If you’re comfortable using A wrench, Following step-by-step instructions, And taking A little time to ensure each connection is tight, You can likely handle the project on your own. Hiring a plumber may also be a good idea if you’re on A tight schedule or simply prefer the assurance Of expert assistance.
Conclusion
Replacing a 3-hole kitchen faucet may seem challenging, But by following these steps, you can complete The task smoothly And efficiently. After disconnecting the old faucet, Preparing the sink area, and securing your new Fixture, you’ll have A refreshed kitchen space with improved functionality. Remember to take your time with each step, Ensuring all connections are tight And leak-free before turning the water back on. With the tools And guidance provided in this guide, You now have everything you need to tackle this project on your own. By following these instructions, You’ve not only enhanced your kitchen’s appearance But also saved on potential installation costs. So, Give yourself a pat on the back—you’ve successfully taken on A home improvement task that will benefit your kitchen for years To come!