
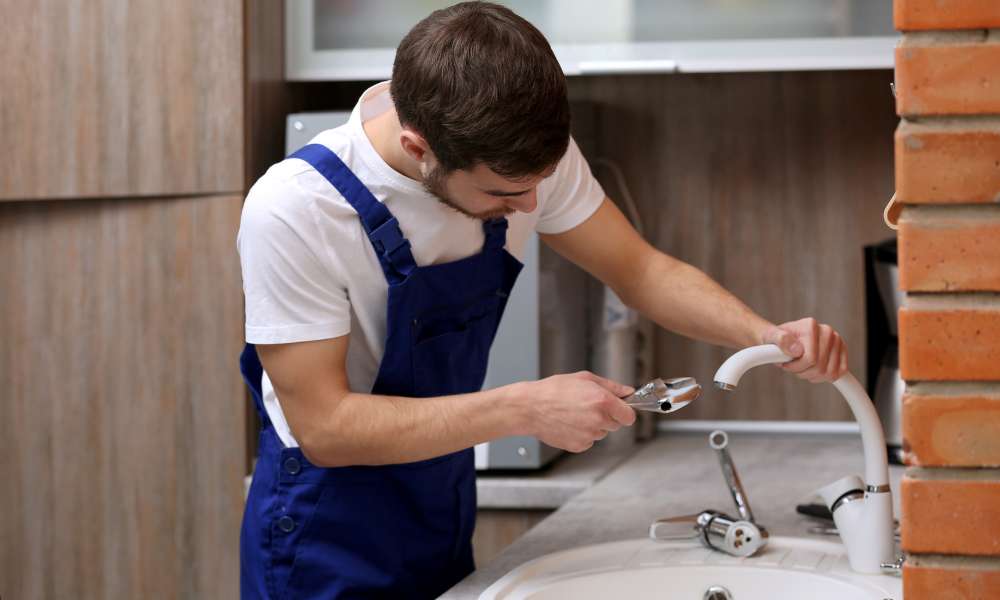
Replacing a kitchen faucet with two handles may seem intimidating, But with the right tools and guidance, iIt’s a straightforward DIY project. Whether your old faucet is leaking, Outdated, Or you’re simply ready for a style Upgrade, swapping It out yourself can save you time and money. In this guide, We’ll walk you through each step, From gathering essential tools To removing the old tube And installing the new one. You’ll also find helpful tips for avoiding common issues And ensuring A secure fit for long-lasting performance. By the end, how to replace a kitchen faucet with two handles You’ll be equipped with the knowledge To tackle this project confidently And enjoy A fresh, Functional upgrade to your kitchen space. Let’s dive in And see how easy It can be to give your kitchen a quick And effective makeover by replacing a two-handle faucet!
Tools & Materials Needed
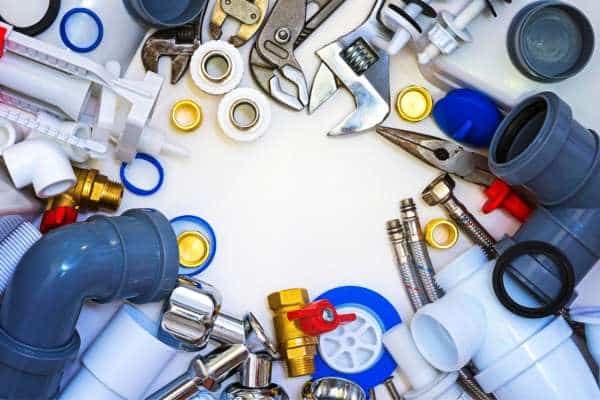
Before you begin replacing your two-handle kitchen faucet, Make sure you have the right tools And materials on hand to streamline the process. You’ll need an adjustable wrench And a basin wrench to loosen and tighten hard-To-reach nuts, Along with pliers for handling smaller components. A bucket is essential To catch any residual water when you disconnect The water lines. Plumber’s tape is also recommended for sealing the connections And preventing leaks. Depending on the tube model, You may need a screwdriver to remove mounting screws. Finally, Keep a flashlight nearby To illuminate the space under the sink for better visibility. With these tools And materials ready, you’ll be fully equipped to tackle The installation smoothly, saving you from mid-project trips To the hardware store.
Turn Off Water Supply
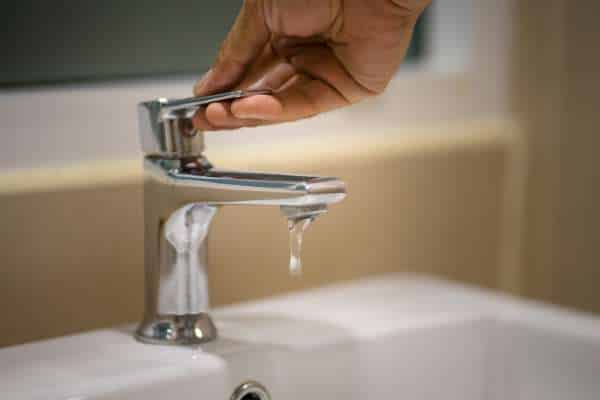
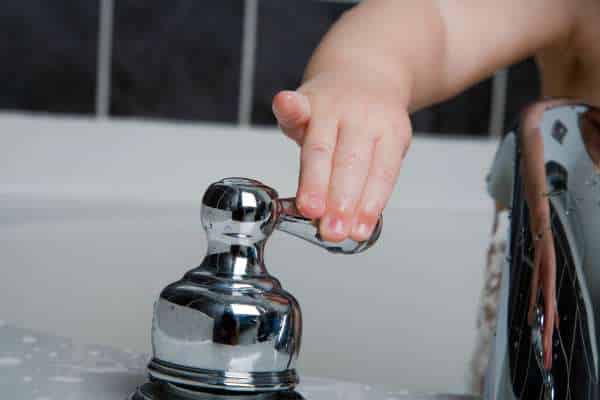
Turning off the water supply is a crucial first step when replacing A two-handle kitchen faucet. Locate the hot And cold water shut-off valves beneath your sink, Typically found near the back wall. These valves Are usually small, Round handles connected To flexible water supply lines. Twist each valve clockwise To shut off the water flow. To ensure they’re fully off, Turn on the tube and check that no water comes out. If your sink doesn’t have individual shut-off valves, You may need to turn off the main water supply To your home. This simple step helps prevent any accidental leaks or flooding As you work. Once the water is off, Place a bucket under the sink to catch any residual water when you disconnect The supply lines, keeping your workspace dry And mess-free.
Drain the Faucet and Disconnect Water Lines
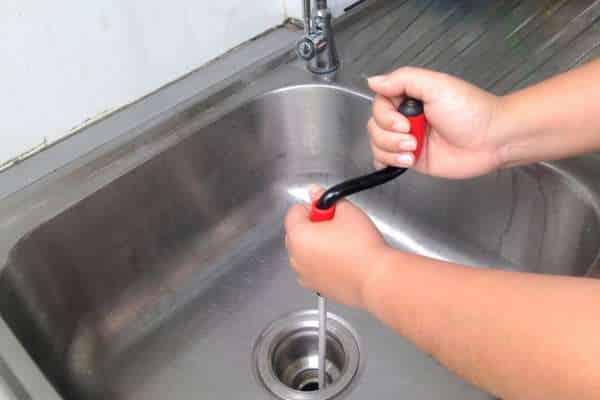
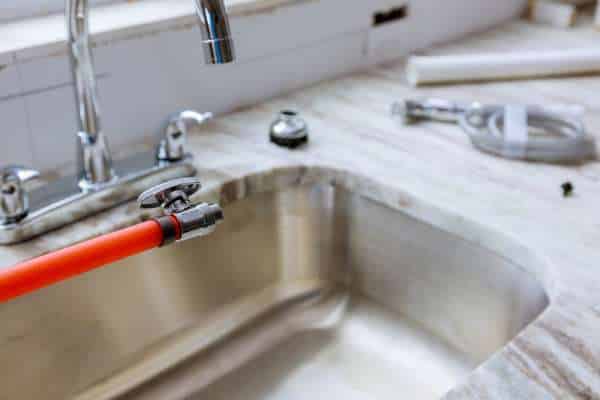
After shutting off the water supply, It’s time to drain the faucet and disconnect the water lines. Start by turning on The faucet handles To release any remaining water in the lines. This step relieves pressure And ensures a dry workspace when you begin The actual removal. Next, use a wrench to carefully loosen the nuts on The water supply lines, which are connected to The underside of the tube. Have a bucket or towel ready To catch any residual water that may still be in the lines. Be sure to work slowly, As the nuts may be tight, Especially if they haven’t been adjusted in A while. Once the lines are detached, you’re ready to move on to removing the old faucet itself, now that everything is properly drained And disconnected.
Remove the Old Faucet Handles and Spout

With the water lines disconnected, It’s time to remove the old tube handles and spout. Start by examining how The handles are secured, Which often involves screws on the tops or sides. If there are decorative caps covering The screws, Gently pry them off with a flathead screwdriver, Then unscrew each handle and set them aside. Next, Locate the mounting nuts holding The spout in place under the sink. Use a basin wrench to loosen these nuts, Turning them counterclockwise until you can lift the spout away from The sink surface. If there’s any stubborn buildup or Corrosion, spray the area with penetrating oil to help loosen The parts. Once the handles and spout are removed, Clean the sink area To prepare for the installation of your new faucet, Ensuring a smooth, secure fit.
Clean the Sink Area

Before installing your new faucet, Take a few minutes to thoroughly clean the sink faucet head area. Start by removing any Debris, old putty, Or mineral deposits around the faucet holes. You can use a putty knife or a scraper To gently lift away stubborn residue. Next, apply A mild cleaner or vinegar solution To dissolve any remaining grime or hard water Stains, then wipe The area clean with a soft cloth. Pay special attention to ensuring that The sink surface is smooth and Dry, as this will help the new tube And its components form a tight seal, preventing leaks. Cleaning The area not only enhances the appearance but also provides A solid foundation for a secure installation. With a pristine sink Area, you’re now ready to start The exciting part: adding your new tube!
Install the New Faucet Base
With the sink area clean and ready, It’s time to install the new tube base. Start by placing the gasket Or rubber seal (included with your faucet) over The mounting holes on the sink. This gasket provides a watertight seal, So make sure it’s positioned correctly. If your faucet doesn’t include A gasket, apply a thin bead of plumber’s putty around The base to prevent leaks. Next, Align the tube base with the sinkholes, Gently pressing it into place. From underneath the sink,Secure the base by threading the mounting nuts onto The tube’s shanks. Use your hands to tighten Initially, then finish with a wrench, Ensuring it’s snug but not overtightened. A firm connection will help stabilize the tube base And set a solid foundation for the rest of The installation process.
Secure the Faucet Handles
Once the faucet base is installed, it’s time To secure the handles. Begin by positioning each handle over The designated hot and cold water valves, Ensuring they’re aligned with the tube base and any indicator markings Are correctly oriented. Most handles attach to The valve stems with screws or set screws; Use a screwdriver or an Allen wrench To tighten these screws until the handles are firmly in place. Make sure the handles Are snug but avoid over tightening, As this could damage the components Or affect the movement. Test each handle To ensure it rotates smoothly And aligns correctly with the valve stops. Properly secured handles will ensure A reliable, Comfortable grip And allow for smooth control of water temperature And flow once the installation is complete.
Connect the New Water Supply Lines
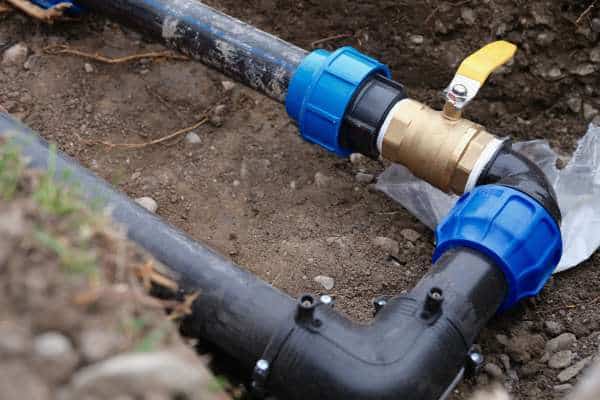
With the faucet handles in place, It’s time to connect the new water supply lines. Begin by attaching one end Of each flexible supply line to the hot And cold water valves located under the sink, Tightening them by hand first, Then securing with A wrench. Make sure to match the hot And cold lines to the corresponding valves for correct water flow. Next, connect The other end of each line to the tube’s inlet ports, Again tightening by hand before using A wrench to finish. Be careful not to overtighten, As this can damage the connections. Properly attached water lines ensure a leak-free connection, Allowing your new tube To function effectively and prevent water from seeping into The cabinet below.
Attach the Spout
Attaching the spout is the next step In completing your new faucet installation. Begin by aligning the spout over The faucet base Or designated mounting area, Depending on your tube model. Many two-handle tubes have A central spout that either screws into place Or fits over a central post. If your spout uses screws, Position it carefully and secure it by tightening The screws with a screwdriver. For spouts that require A set screw, use an Allen wrench To fasten it snugly. Once secured, Test the spout by rotating it back and forth To ensure smooth operation. A well-attached spout will deliver water efficiently And allow you to enjoy a fully functional kitchen faucet.
Turn on Water Supply & Check for Leaks
With the faucet installation complete, It’s time to turn on the water supply and check for leaks. Start by slowly opening the hot And cold water shut-off valves under the sink. Gradually turning on The valves helps prevent sudden water pressure surges that might disturb The new connections. Once the water is on, Turn on the tube handles to allow water to flow through the spout, Checking underneath the sink for any signs of leakage around The supply lines or mounting nuts. If you notice any drips, Use a wrench to gently tighten the affected connections, But be careful not to overtighten. Finally, run both hot And cold water through the faucet To ensure everything is functioning properly.
Test the New Faucet
Begin by turning on both the hot And cold handles, checking for smooth operation and a steady flow of water. Adjust the temperature By mixing hot and cold to ensure The handles provide accurate control over the water temperature. Rotate The spout from side to side To verify it moves easily and stays securely In place. Watch closely for any leaks around the Handles, spout, Or supply lines under the sink, As even a small drip can indicate a loose connection. Testing the tube thoroughly now ensures it’s in perfect working order And allows you to make any final adjustments, Leaving you with A fully functional and efficient upgrade to your kitchen.
Can I replace a two-handle faucet myself?
Yes, replacing a two-handle faucet is A manageable DIY project for most homeowners, Even those with basic plumbing skills. With A few standard tools, Like an adjustable wrench, Pliers, and a screwdriver, You can tackle this job in about 1-2 hours. The process generally involves shutting off The water supply, disconnecting the old faucet, cleaning the area, And installing the new one. Many tube kits come with detailed instructions, Making the process straightforward. However, If you encounter issues such as corroded pipes or tight spaces under the sink, You may need additional tools like A basin wrench or penetrating oil. If you’re comfortable following step-by-step guidance And handling minor plumbing tasks, You can replace a two-handle tube yourself And enjoy a satisfying upgrade to your kitchen.
How long does it take to replace a faucet?
Replacing a faucet typically takes around 1-2 hours For someone with basic DIY skills. The exact time can vary depending on factors like the tube type, accessibility, And the condition of the existing plumbing. If you’re working with A standard two-handle faucet and have The necessary tools—such as an adjustable wrench, Basin wrench, And pliers—The process should go smoothly. The steps include turning off the water Supply, Disconnecting the old faucet, cleaning the sink area, And installing the new faucet. Overall, with A bit of preparation and patience, replacing a tube can be A quick and satisfying home improvement project that doesn’t require A professional plumber.
Final Touches
Replacing a two-handle kitchen faucet is A straightforward project that can give your kitchen An instant refresh. By following the steps—from turning off the water supply And disconnecting the old faucet to securing The new handles And testing for leaks—you can complete this DIY task with confidence. With just a few tools And a bit of patience, you’ll not only save on professional installation costs but also gain A sense of accomplishment from enhancing your kitchen on your own. Remember, Taking time to clean the sink area And carefully check all connections is essential For a leak-free, Durable installation. Now that your new tube is securely in place, Enjoy the improved functionality And style it brings to your kitchen space. Your next kitchen project awaits, So keep up the great work!