
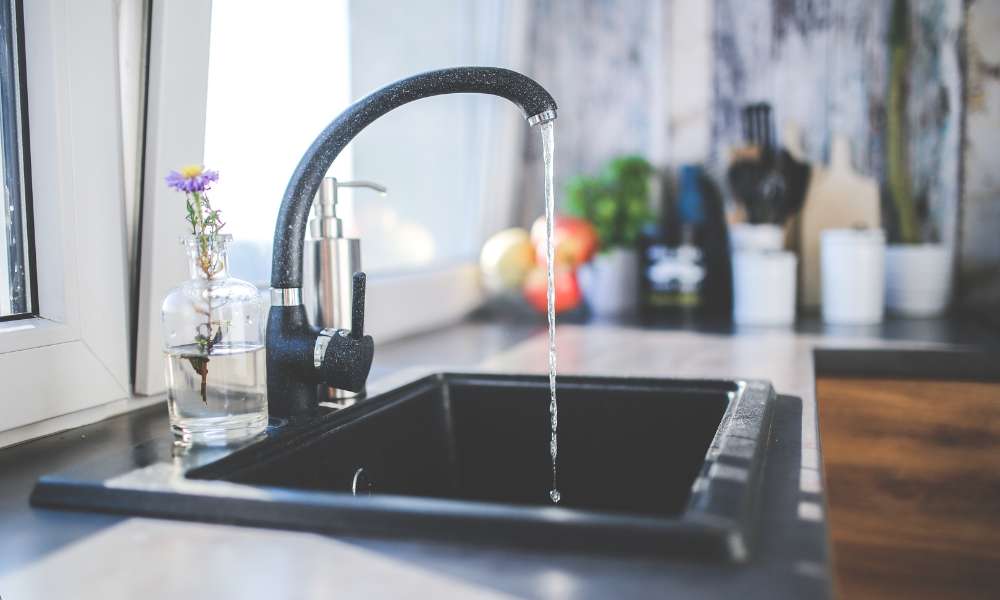
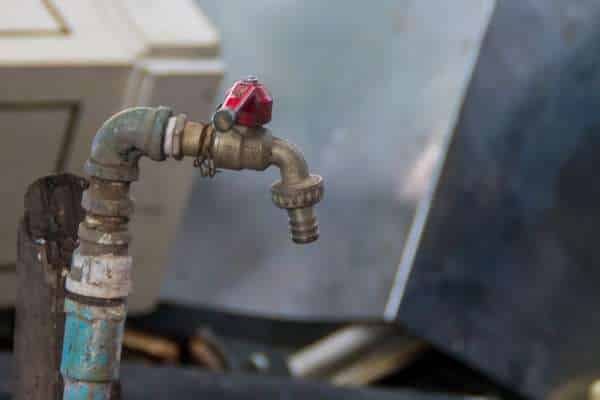
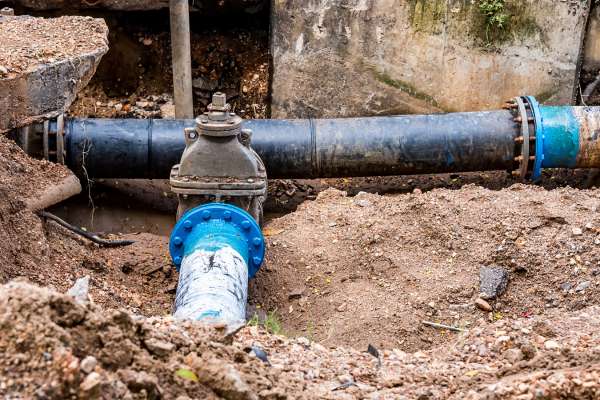
Changing a kitchen sink faucet may seem like A daunting task, but with the right tools And guidance, it’s A straightforward project that can be tackled in just A couple of hours. Whether your faucet is leaking, outdated, Or simply doesn’t match the style of your kitchen,How to Change Kitchen Sink Faucet Replacing it can instantly improve both functionality And aesthetics. In this guide, We’ll walk you through each step of the process, From turning off the water supply to installing A brand-new faucet. No need for professional help—this is A DIY task that even beginners can handle with ease! Along The way, You’ll learn essential tips for disconnecting old parts, Securing your new faucet, And ensuring there are no leaks. With a little effort, You’ll have a beautifully upgraded faucet that enhances your kitchen’s look And feel.
Tools and Materials Needed
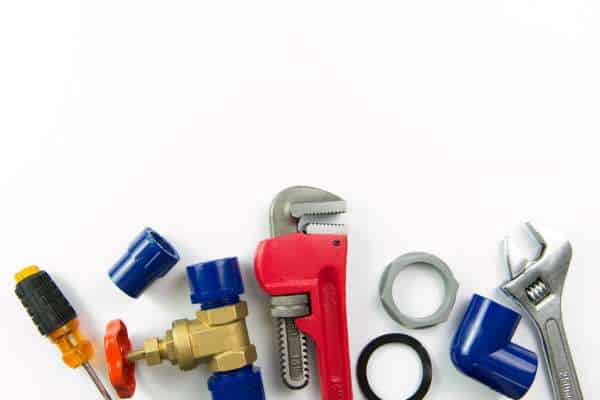
Before you begin changing your kitchen tube, Gather the necessary tools and materials to make the job easier And more efficient. You’ll need a few basic tools: An adjustable wrench, basin wrench, and pliers, Which will help you loosen And tighten connections in tight spaces. Plumber’s tape is essential To ensure leak-proof connections, And you may want a bucket Or towel on hand to catch any residual water. For materials, of course, You’ll need your new faucet—make sure it fits the holes in your sink And suits your style preferences. Cleaning supplies are also helpful For prepping the area And removing any old sealant or grime. Having everything ready will streamline the replacement process and save you from last-minute trips to The hardware store.
Turn Off the Water Supply
The first step in changing your kitchen faucet is to turn off the water Supply, Ensuring you avoid any unwanted spills or leaks. Start by locating the shut-off valves beneath your sink, Typically found on the hot and cold water lines. Twist these valves clockwise To close them completely; You may need a bit of force if they haven’t been turned in A while. If your sink doesn’t have individual shut-off Valves, You’ll need to turn off the main water supply to your home. Once the water is Off, Turn on the tube to release any remaining water in the lines, Helping to minimize mess. Taking a few minutes to ensure the water is fully off will make The installation process much smoother.
Drain and Clear the Area
Once the water supply is turned Off, The next step is to drain and clear the area under your sink. Start by opening The tube To release any residual water left in the pipes, Allowing it to fully drain. This step will help you avoid unexpected drips while you work. Next, Remove any items stored beneath the sink to create a clean And accessible workspace. If you’re worried about any leftover water, Keep a bucket or old towel nearby To catch any drips that may occur as you disconnect the plumbing. Clearing the space And ensuring everything is dry will give you ample room To maneuver and make The faucet replacement process much easier And more efficient.
Disconnect the Old Faucet
With the area cleared, it’s time to disconnect The old faucet. Begin by locating the water supply lines connected to The faucet, Which are typically found under the sink. Use an adjustable wrench or pliers To carefully loosen the nuts securing these lines to the tube. Once disconnected, You may need to detach any mounting nuts Or brackets holding the tube in place; A basin wrench is especially useful for reaching tight spaces. If your tube includes a sprayer, Don’t forget to disconnect it as well. As you remove these parts, Set them aside, keeping track of any washers or small components. Taking your time with this step will help ensure a smooth And damage-free removal, making way for The new faucet.
Remove the Old Faucet
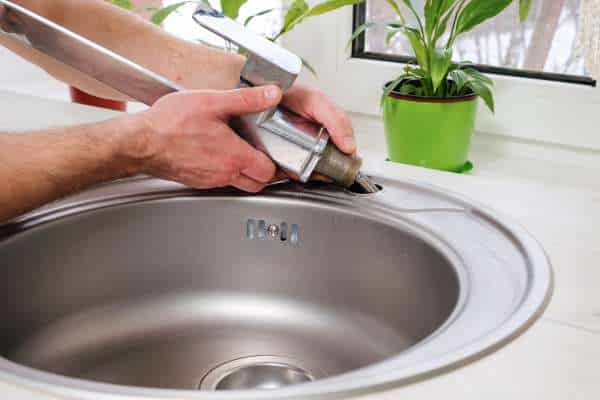
After disconnecting the water lines And mounting hardware, You’re ready to remove the old faucet from the sink. Start by gently lifting the tube from the top; If it doesn’t budge, It might be stuck due to old sealant Or mineral buildup. In this case, Try loosening it by rocking it back And forth or using a putty knife To break any sealant around the base. Once the tube is free, Carefully lift it out, taking care not to scratch The sink surface. This is also an excellent opportunity To clean the area where the old faucet sat, Removing any remaining grime, Calcium deposits, Or old plumber’s putty. Prepping the space ensures A smooth installation for the new tube And enhances its longevity.
Prepare the Sink Surface

With the old faucet removed, It’s time to prepare the sink surface for the new installation. Start by thoroughly cleaning the area where The old tube was mounted. Use a non-abrasive cleaner To scrub away any leftover grime, Mineral deposits, Or old plumber’s putty. If there’s stubborn residue, A plastic scraper or putty knife can help remove It without scratching the sink. Once the surface is clean, dry it completely with A cloth to ensure a strong seal for The new faucet. Double-check The sinkholes to make sure they’re clear Of any debris and align with the new tube’s configuration. Taking the time to prepare The sink surface properly will help ensure a secure And leak-free installation.
Position the New Faucet
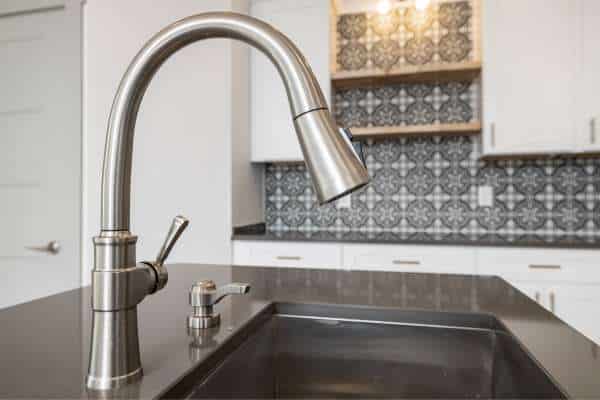
Now that the sink surface is clean and Ready, It’s time to position the new faucet. Begin by aligning the faucet’s base with The mounting holes on the sink. Carefully lower it into place, Ensuring that any attached hoses Or connections fit through The holes smoothly. If your tube includes a gasket or rubber Seal, Place it between the tube and sink surface to prevent leaks. Make sure The tube is centered and oriented correctly, As this will affect both its appearance And functionality. Some tubes may also have additional components, Like an escutcheon plate, To cover extra holes Or provide added stability. Once positioned, Check that everything looks even And prepare for the next step: securing The tube in place.
Secure the New Faucet
With the new faucet in position, It’s time to secure it to the sink. From underneath, Attach the mounting nuts to the faucet’s threaded shanks, Tightening them by hand first. Once in place, Use a basin wrench or adjustable wrench To carefully tighten each nut, Ensuring a firm but not overly tight fit to avoid damaging The tube or sink. If your tube comes with a bracket or mounting plate, Secure it as directed for added stability. Take a moment to check The tube alignment from above, Making any slight adjustments before fully tightening. This step is crucial, As a properly secured tube prevents wobbling And reduces the risk of leaks. With the tube now secure, You’re ready to connect the water lines.
Reconnect the Water Lines
Now that the faucet is secure,It’s time to reconnect the water lines. Start by attaching the hot And cold water supply lines to The corresponding inlets on the faucet. Hand-tighten each connection, Then use an adjustable wrench To give them a firm, Secure twist. Be cautious not to overtighten, As this can damage the connections or create leaks. If your tube has An additional hose for a sprayer, connect it according to The manufacturer’s instructions. For added leak protection, wrap plumber’s tape around the threaded ends Of each fitting before connecting. Once everything Is connected, double-check that all fittings Are tight and aligned correctly. You’re now ready to test the tube And ensure that The installation is complete.
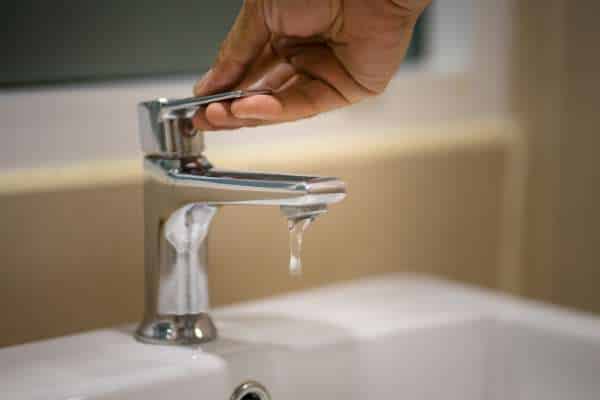
Test the Faucet for Leaks
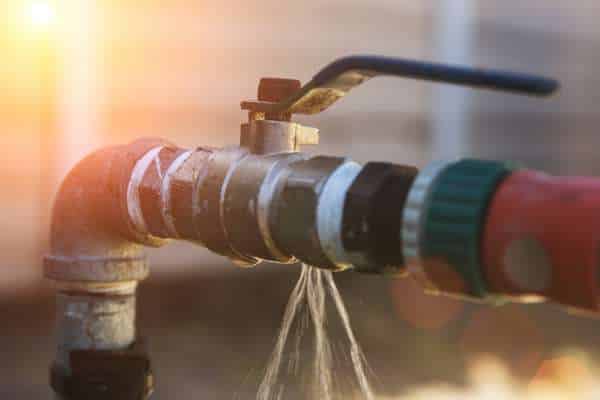
With the water lines securely connected, It’s time to test the faucet for leaks. Start by slowly turning on The shut-off valves under the sink, Allowing water to flow back into the lines. Gradually open the faucet handles To release any trapped air, And let the water run for a minute. Carefully inspect all connections under the Sink, Including the supply line fittings And the base of the tube, For any signs of dripping or moisture. If you spot a Leak, Turn off the water and tighten the connection as needed. Also, Check that the tube operates smoothly, Switching between hot and cold water without issues. Once you’re confident there are no leaks, You can finish up and enjoy your new faucet!
What tools do I need to change a kitchen sink faucet?
To change a kitchen sink faucet, You’ll need a few basic tools to make the job easier and more efficient. First, Grab an adjustable wrench and a basin wrench, Both essential for loosening And tightening connections in tight spaces under the sink. Pliers Are also helpful for grip And leverage. Plumber’s tape is important To ensure watertight seals on threaded Connections, Reducing the risk of leaks. A bucket Or towel is useful for catching any residual water when disconnecting The old tube. Additionally, you may need a putty knife or scraper To remove old plumber’s putty or residue from the sink surface. With these tools on Hand, you’ll be well-prepared To complete your faucet replacement smoothly And efficiently.
How long does it take to replace a kitchen faucet?
Replacing a kitchen faucet typically takes about 1 to 2 hours, Depending on your experience level and the condition Of The existing faucet. For someone familiar with basic plumbing, The process can go quickly. However, If the old tube is corroded or difficult to Remove, It might take a bit longer. The steps include turning off the water Supply, disconnecting the old faucet, Cleaning the sink surface, positioning And securing the new tube, Reconnecting the water lines, And finally testing for leaks. To save time, Gather all necessary tools—like an adjustable wrench, Basin wrench, And plumber’s tape—before you begin. With the right preparation, You can efficiently tackle this DIY project And enjoy a refreshed, Functional kitchen sink.
Final Touches
Changing a kitchen sink tube is A manageable DIY project that can instantly refresh your kitchen’s look And improve its functionality. By following A few straightforward steps—gathering tools, Turning off the water, Removing the old faucet,Preparing the sink surface, installing the new faucet, And testing for leaks—you’ll have A new tube installed in no time. Not only does this process save you The cost of hiring a plumber, But it also gives you The satisfaction of completing A home improvement task on your own. Remember to take your time, Double-check connections, And ensure everything is secure. With A bit of patience and the right guidance, you’ll have a reliable And stylish tube that enhances your kitchen’s daily use.