
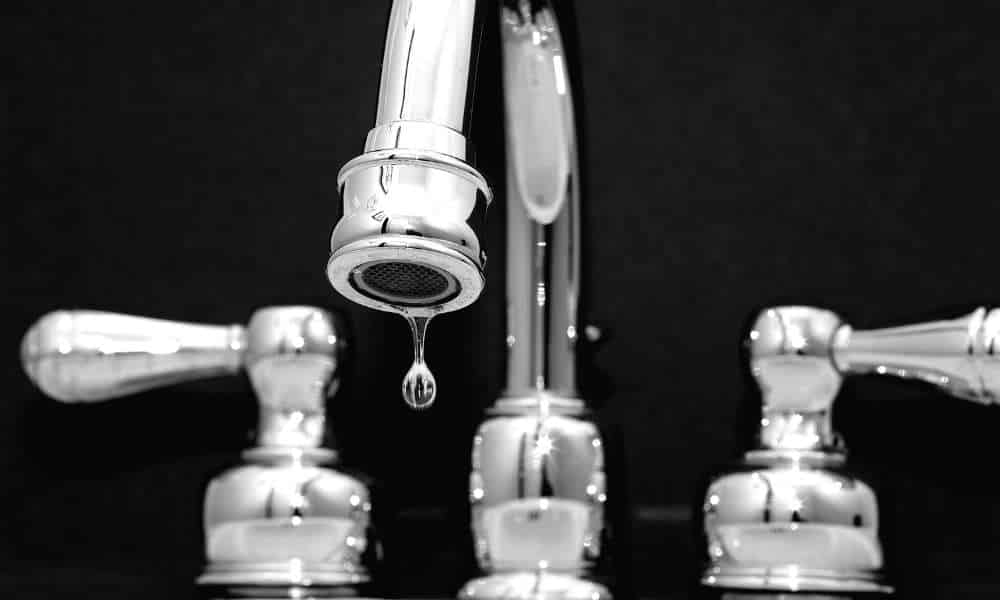
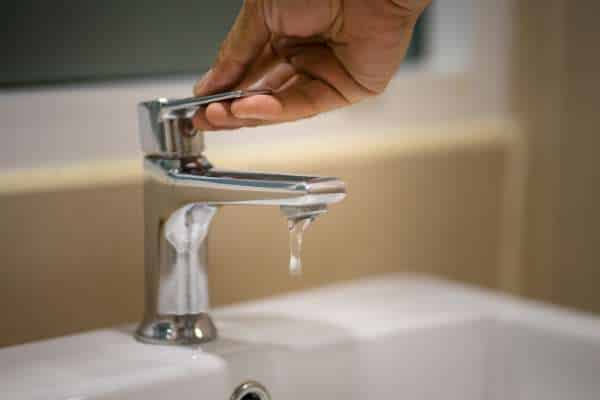
A leaky kitchen faucet with two handles can be more than just A nuisance—It can lead To water Waste, Higher Bills, And even damage To your sink or countertop over time. If you’ve noticed water dripping from your faucet even when The handles are tightly Closed, How To Fix A Leaky Kitchen Faucet With Two Handles It’s time To take action. The good news? Fixing A leaky two-handle tube doesn’t always require A plumber! With The right tools And A bit of Patience, You can tackle this DIY project And restore your faucet To proper working order.In this Guide, We’ll walk you through The step-by-step process of diagnosing And repairing The Leak, From identifying The issue To replacing The faulty components.
Tools You’ll Need to Fix the Faucet
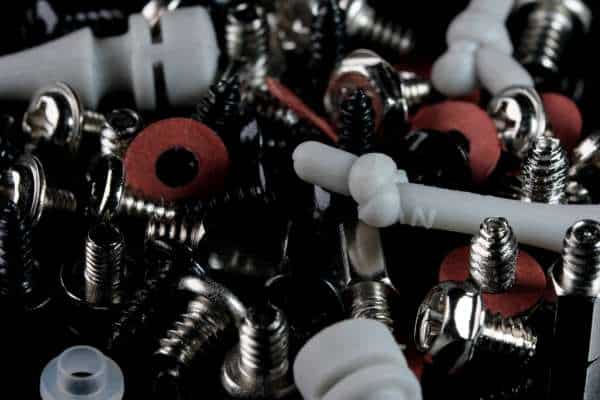
Before diving into fixing your leaky kitchen Faucet, It’s essential To gather The right tools To ensure The job goes smoothly. Having The proper equipment on hand not only makes The process easier but also prevents further damage To your faucet or sink. Fortunately, You don’t need A massive toolset for this repair. The basics you’ll need include an adjustable wrench To loosen And tighten various Parts, A flathead And Phillips screwdriver for removing Screws, And needle-nose pliers For handling small components. Additionally, You might require replacement parts like Washers, O-Rings, Or Cartridges, depending on The type of tube you’re repairing. A small utility knife may also come In handy for cleaning off any debris or mineral build-up.
Turning Off the Water Supply
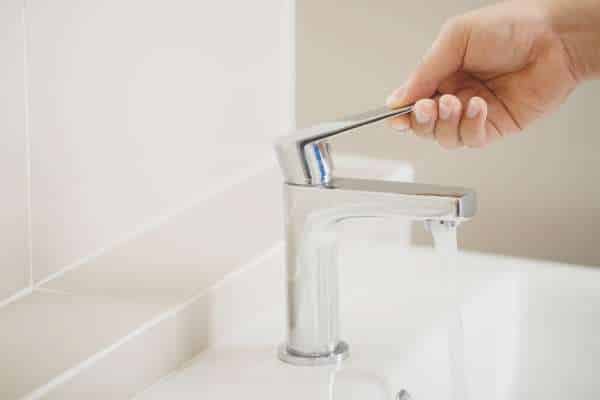
Before you start any faucet Repair, The most important step is To ensure your safety And prevent any water damage by turning off The water supply. This simple yet crucial task helps avoid unnecessary messes And keeps your workspace safe And dry. First, Locate The shut-off valves under your sink—there should be one for The hot water And one for The cold water. If you can’t find the valves or they aren’t functioning Properly, You may need To shut off The main water supply to your house. It’s also A good idea To open The tube And drain any remaining water In The pipes to relieve pressure. Taking this precaution ensures that when you start disassembling The Faucet, You won’t face unexpected sprays of Water, Allowing you To focus on fixing The leak without complications or added stress.
Disassembling the Faucet Handles
Disassembling The faucet handles is A key step in fixing A leaky two-handle kitchen faucet. It’s essential To approach this process carefully To avoid damaging any parts or misplacing small components. Start by removing The decorative cap on top of The Handle, Which often hides The screw securing The handle in place. Use A flathead or Phillips screwdriver To unscrew It, And gently lift The handle off The tube. Once The handle is Off, Set it aside safely. This exposes The cartridge or valve Stem, Which is likely The source of The leak. Keep all parts organized as you remove them To ensure easy reassembly later. With The handles Disassembled, You’re now ready To inspect The inner components And identify The faulty parts that need replacement.
Inspecting the Cartridge or Washer

Once you’ve disassembled The faucet Handles, The next crucial step is inspecting The cartridge or Washer, As these components are often The culprits behind leaks. Depending on The type of tube you Have, You’ll either find A cartridge or A washer inside The valve. Carefully examine The cartridge or washer for any signs of Wear, Cracks, Or buildup of debris. In older Faucets, Washers are more prone to damage And may have become brittle or worn out from frequent Use, While in newer Models, The cartridge may be faulty. If The cartridge looks intact but there’s debris or mineral Buildup, A simple cleaning might solve The issue. However, If there are visible signs of Wear, You’ll need To replace The cartridge or washer.
Replacing a Faulty Cartridge
Replacing A faulty cartridge Is often The key To stopping A leak In your two-handle kitchen faucet. Once you’ve determined that The cartridge is The source of The problem—due to Wear, Cracks, Or mineral buildup—it’s time To replace it. Begin by carefully removing The cartridge using pliers or A cartridge Puller, Ensuring you note its position so that The new one fits correctly. Cartridges come In various types And Sizes, So it’s important to take The old one with you To The hardware store To find an exact match. Before installing The new Cartridge, Clean The inside of The tube To remove any debris or buildup that may cause future issues. Secure it tightly And reassemble The faucet handles. With The new cartridge In Place, You’ll have restored The faucet’s function And stopped The leak effectively.
Replacing Worn Washers or O-Rings
Replacing worn washers or O-rings is A simple yet effective solution To stop leaks In many two-handle kitchen Faucets, Especially older models. Over Time, Washers and O-rings can wear down due To constant pressure And water Flow, Leading To drips And leaks. To begin, After disassembling The tube And locating The washers or O-rings in The valve Assembly, Carefully remove them with A pair of pliers or A screwdriver. Inspect them closely for signs of Wear, Cracks, Or flattening—these are common indications that they need replacing. When purchasing new washers or O-Rings, Ensure they match The exact size And type of The originals To ensure A proper fit. Before inserting The new Parts, Clean The area inside The valve to remove any debris or mineral deposits.This straightforward fix can significantly extend The life of your tube And prevent future drips.
Cleaning Mineral Build-up on Faucet Parts
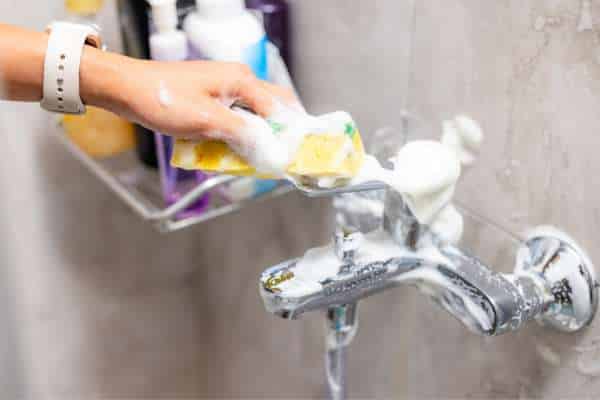
Over Time, Mineral build-up can accumulate on faucet parts due To hard Water, Causing reduced water Flow, Leaks, Or even damage to The tube. Cleaning this mineral build-up is an essential part of maintaining your kitchen tube And ensuring it functions smoothly. After disassembling The Faucet, You may notice White, Chalky deposits on The Cartridge, Washers, Or other internal parts. These deposits are calcium or lime buildup. To clean Them, Soak The affected parts in A solution of white vinegar And water for about 30 Minutes, Which helps dissolve The minerals naturally. For tougher Buildup, You can scrub The parts with A soft brush or toothbrush. Be careful not To scratch or damage any components while cleaning.
Reassembling the Faucet
Reassembling A faucet may sound Challenging, But with The right Approach, It can be done smoothly And efficiently. Whether you’ve taken it apart for maintenance or Repair, Putting The faucet back together is an essential step In ensuring proper functionality. It’s important To follow A step-by-step process To make sure everything fits correctly And that the seals are tight. This helps To avoid any future drips or malfunctions. In this Guide, We’ll walk you through The reassembly Process, Covering The necessary Tools, Techniques, And tips to make The job easy. By The End, Your tube will be back in working Order, Ready To provide reliable use for years To come.
Testing for Leaks
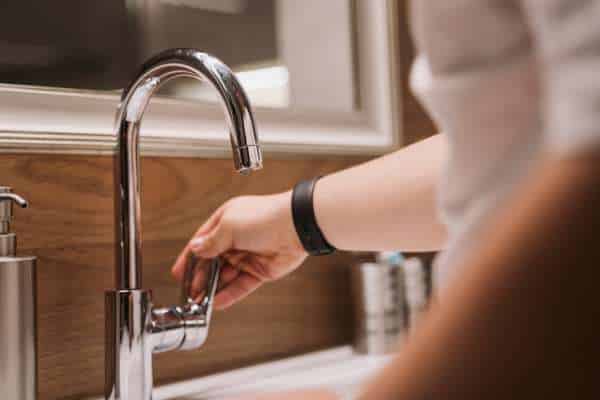
Testing for fix a leaks kitchen faucets is A crucial step after any faucet installation or repair. Even if everything seems tightly Assembled, Small leaks can go unnoticed And lead to bigger issues over Time, Such as water damage or increased utility Bills. After reassembling or installing A Faucet, It’s important To thoroughly check all Connections, Seals, And joints for any signs of water escaping. This process involves turning on The Water, Observing The Faucet, And feeling for any moisture around The Base, Handles, Or Pipes. Spotting A leak early allows for immediate Fixes, Preventing long-term problems. In this Guide, We’ll outline how To properly test for Leaks, What tools you’ll Need, And The common areas where leaks are likely To occur. By following these Steps, You can ensure your tube Is functioning perfectly without any hidden issues.
Preventive Maintenance Tips for Kitchen Faucets
Preventive maintenance for kitchen faucets Is key To ensuring long-lasting performance And avoiding unexpected repairs. Regular upkeep helps keep your tube In top Condition, Preventing common issues such as Leaks, Corrosion, Or reduced water pressure. Simple tasks like cleaning The Aerator, Checking for loose Components, And inspecting seals And washers can make A big difference in The overall durability of your faucet. Additionally, Addressing small problems Early, Such as minor drips or stiffness In The Handle, Can prevent them from turning into costly repairs. By incorporating these preventive maintenance tips into your Routine, You can extend The lifespan of your kitchen tube And ensure it operates smoothly for years To come. In this Guide, We’ll cover practical tips that are easy To follow And will keep your tube working efficiently.
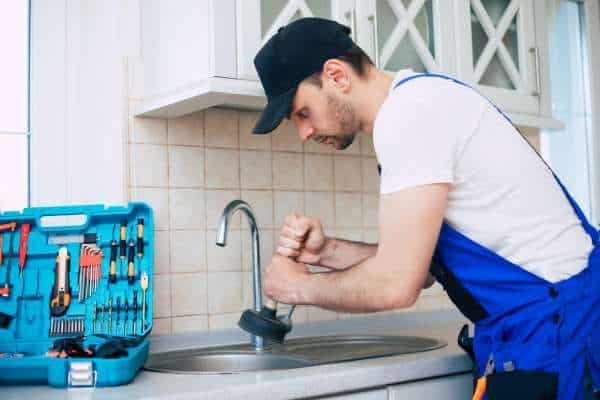
When to Call a Professional Plumber

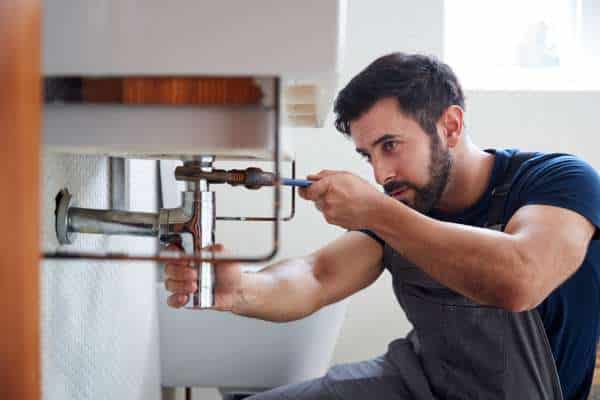
Knowing when To call A professional plumber can save you Time, Money, And frustration. Persistent Leaks, Low water Pressure, Or complex issues involving The pipes behind walls often require A plumber’s skills To prevent further damage. Additionally, If you’re dealing with water heater Malfunctions, Sewage Backups, Or installing new Fixtures, It’s best To leave these jobs to A licensed professional To avoid costly mistakes. Attempting To fix complex plumbing issues without The proper tools or knowledge can make The problem worse. In this Guide, We’ll help you recognize The signs that it’s time To call A professional plumber And ensure that your home’s plumbing stays In top shape.
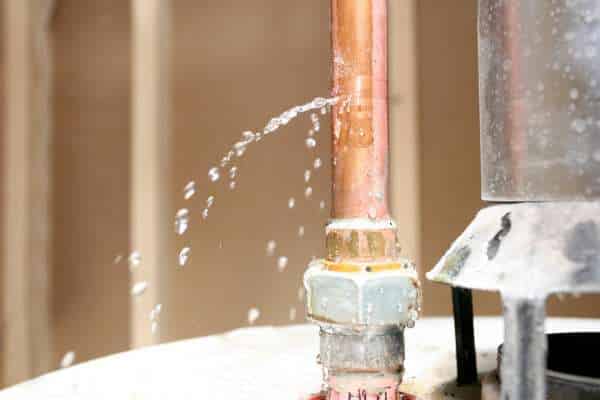
What causes a kitchen faucet to leak from the handles?
Over Time, The rubber O-rings And washers inside The tube can Deteriorate, Leading To water seeping through The handles. Another frequent cause is A loose or damaged cartridge or Valve, Which can result in water escaping when The faucet is In use. Mineral buildup from hard water may also affect The Seals, Causing leaks around The handles. Ignoring this problem can lead To increased water waste And even potential damage to The surrounding area. Addressing The leak promptly by replacing worn-out parts or tightening loose components can prevent further Issues. In this Guide, We’ll explore The main causes And solutions for kitchen tube leaks from The handles.
How long does it take to fix a two-handle kitchen faucet?
Fixing A two-handle kitchen faucet typically takes around 30 minutes To an Hour, Depending onThe complexity of The issue And your experience with plumbing. The process involves turning off The water Supply, Disassembling The tube Handles, Identifying The faulty Parts, And replacing them with new components. If The tube has more extensive damage or mineral Buildup, It may take slightly longer to clean or replace additional parts. In this Guide, We’ll break down The steps To help you quickly And efficiently fix your faucet.
Conclusion
Fixing A leaky kitchen faucet with two handles is A task that can save you both time And money if done correctly. By following The step-by-step process of identifying The Cause, Replacing worn-out parts like O-rings or Washers, And reassembling The Faucet, You can stop The leak And restore your tube’s functionality. Whether you’re dealing with A drip from The spout or leaks from The Handles, Addressing The issue promptly will prevent water waste And avoid further damage To your kitchen. With The right tools And Guidance, Fixing A two-handle kitchen tube can be A straightforward process that extends The life of your faucet.