
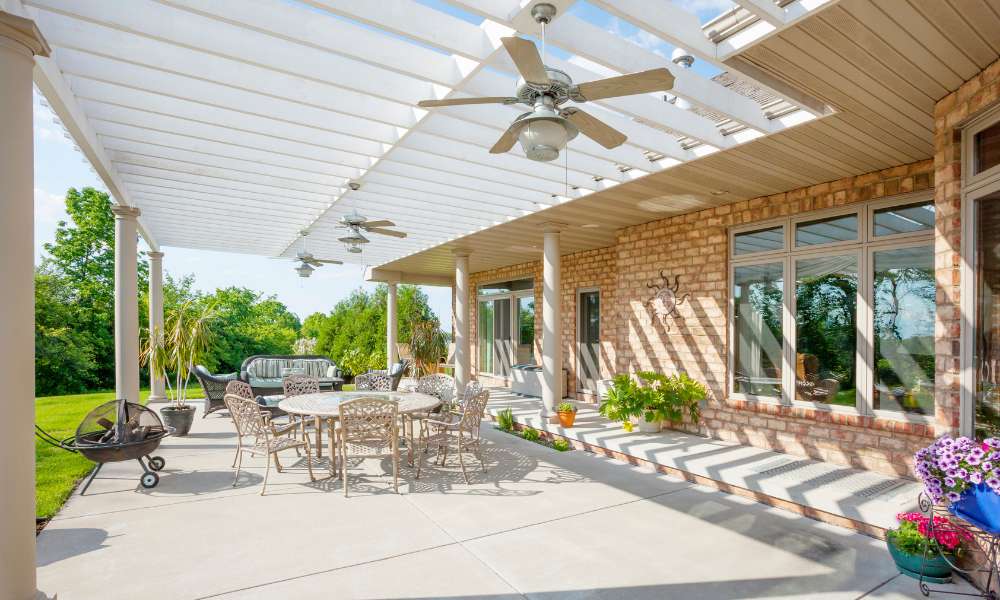
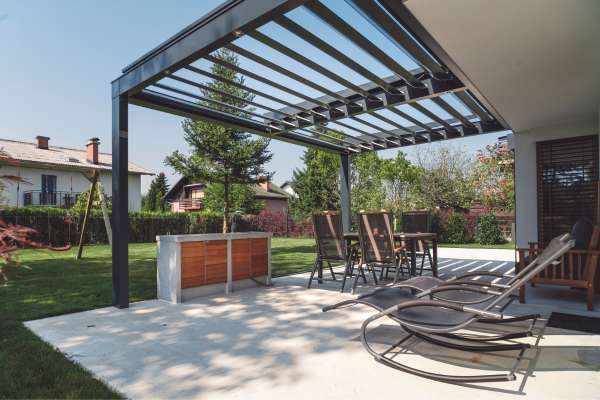
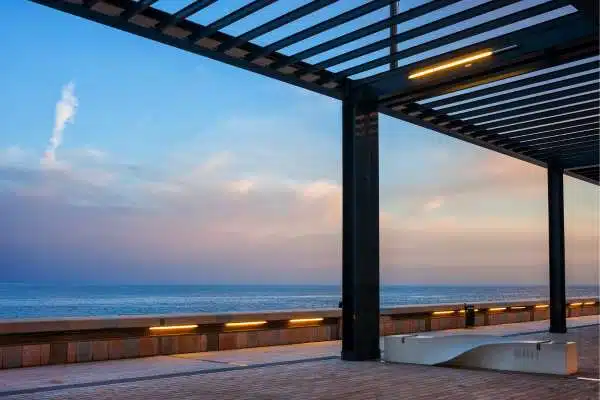
Building A pergola on concrete can transform your outdoor space into A stylish And functional area perfect Or relaxation And entertainment. Unlike traditional wooden pergolas installed On Soil, A concrete foundation offers enhanced stability And Durability, How To Build A Pergola On Concrete Ensuring your structure withstands The test of time. Whether you want A shaded retreat To escape The sun or A charming frame For climbing Plants, Constructing A pergola on A concrete surface Is A rewarding project that enhances your home’s aesthetics And value. In this comprehensive Guide, We’ll walk you through The step-by-step process Of Planning, Designing, And building your pergola. From gathering The necessary materials And tools To ensuring precise measurements And secure Anchoring, Our detailed instructions will help you create A beautiful And sturdy pergola that seamlessly integrates with your concrete patio Or backyard space. Dive In And discover how To elevate your outdoor living with this DIY project!
Materials and Tools Required
Before starting your pergola project on A concrete Surface, Gathering all necessary materials And tools Is crucial To ensure A smooth construction process. You’ll need high-quality lumber For The Posts, Beams, And Rafters, With cedar Or redwood being excellent choices due To their natural resistance To decay And insects. Other materials include metal post Anchors, Screws, Brackets, And weather-resistant wood treatment. Additionally, Having The right tools At hand will make The task more manageable And efficient. Essential tools include A Drill, Saw, Level, Tape Measure, And A concrete anchor installation kit. Safety Gear, Such As gloves And Goggles, Is also important To protect yourself during construction. Preparing these materials And tools ahead Of time will help you stay organized And Focused, Ensuring your pergola Is built with precision And Stability, Providing A durable And attractive addition To your outdoor space.
Planning and Design
Planning And designing your pergola Is A crucial step that sets The foundation For A successful build. Begin by choosing The ideal location on your concrete Surface, Considering factors like sunlight Exposure, Proximity To your House, And overall aesthetic appeal. Measure The area accurately To determine The pergola’s Dimensions, Ensuring It fits well within your space while providing The desired amount Of shade And coverage. Sketching A design helps visualize The Structure, Allowing you To decide on elements such as The number of Posts, Beam Placement, And rafter spacing. Consider The style that complements your home’s architecture—whether Modern, Rustic, Or classic. Factor In any additional features like built-in Seating, Lighting, Or climbing plants. A well-thought-out plan ensures you gather The right materials And follow A clear blueprint during Construction, Ultimately resulting In build A pergola on a deck that enhances your outdoor living area both functionally And aesthetically.
Preparing the Concrete Surface
Preparing The concrete surface Is A vital step To ensure The stability And longevity of your pergola. Use A pressure washer or A stiff brush with A concrete cleaner To achieve A clean surface. Next, Inspect The concrete For any cracks Or damages that need Repair, As these could compromise The integrity of The structure. Mark The spots where The pergola posts will be Anchored, Ensuring precise measurements For proper alignment. Use chalk lines or A laser level For accuracy. If The concrete Is Uneven, Consider leveling It To provide a stable foundation For The post anchors. Properly preparing The concrete surface not only facilitates easier installation but also ensures that your pergola stands strong And Secure, Providing A durable And attractive addition To your outdoor space.
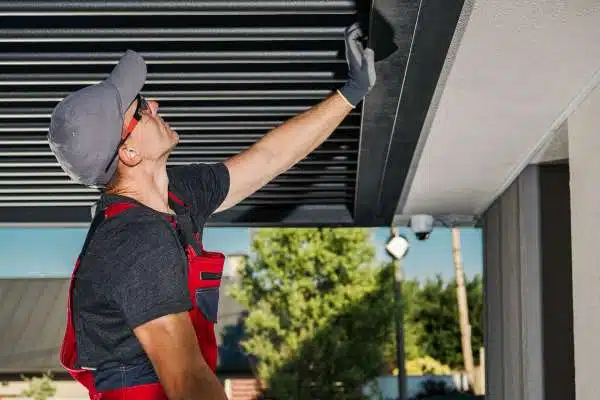
Anchoring the Posts
Anchoring The Posts Is A Critical Step In Building A Pergola on Concrete, Ensuring that your structure Is stable And secure. Start by selecting The appropriate type Of post Anchors, Such as surface-mounted Or embedded Anchors, Based on your specific requirements And The pergola design. Position The anchors at The marked spots on The concrete Surface, Ensuring they are evenly spaced And aligned correctly. Insert The bolts And tighten them securely To fix The anchors In place. Secure The posts with The provided Hardware, Double-checking For stability. Properly anchoring The posts Is essential For The overall durability And safety Of your Pergola, Providing A solid foundation For The entire structure.
Cutting and Preparing the Lumber
Cutting And Preparing The Lumber Is A crucial phase In Constructing A Pergola, Ensuring that each piece fits perfectly And contributes To The structure’s stability. Begin by selecting high-quality Lumber, with cedar or redwood being excellent choices due To their durability And resistance To weather And pests. Measure And mark The lumber according To your design Specifications, Taking care To double-check all measurements For accuracy. Use A circular saw or miter saw To make precise Cuts, Ensuring Clean, Straight Edges. Treat The wood with A weather-resistant sealant or stain To protect It from Moisture, UV Rays, And other environmental factors. Properly cutting And preparing The lumber ensures that The assembly process goes smoothly And that The finished pergola is both robust And aesthetically pleasing.
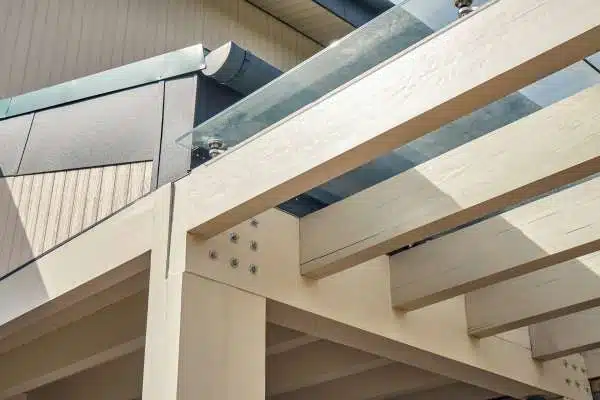
Assembling the Pergola Frame
Assembling The pergola frame Is A pivotal step that brings your structure To Life, Providing The basic skeleton that supports The entire build. Start by positioning The prepared posts In their anchored Spots, Ensuring they are perfectly vertical And aligned. Attach The horizontal beams To The top of The posts using heavy-duty screws Or Bolts, Creating The primary framework. Use temporary supports To hold The beams In place while securing Them, Ensuring they are level And square. Connect The beams at The corners with metal brackets For added stability. Once The mainframe Is Secure, Double-check all measurements And Levels, Making adjustments as necessary To maintain A balanced structure. This stage sets The foundation For attaching The rafters And additional Elements, Ensuring The pergola is robust And well-structured.
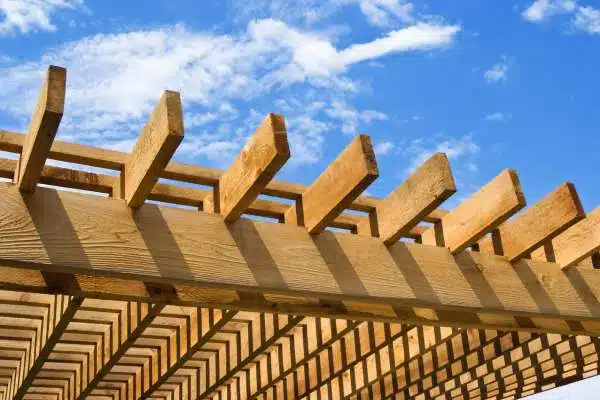
Installing the Rafters

Installing The rafters Is A crucial step In completing The Pergola, Providing both structural support And The characteristic look Of The design.Pre-drill holes At The marked positions To make The installation easier And prevent The wood from splitting. Lift The rafters into Place, One by One, Aligning them with The pre-drilled holes. Secure each rafter with screws or Bolts, Ensuring they are tightly fastened To The beams. Use A level To check that each rafter Is straight And evenly spaced. This not only ensures structural integrity but also enhances The aesthetic appeal Of The pergola. Once all The rafters are Installed, Double-check The alignment And make any necessary adjustments. Properly installed rafters provide strength And stability To The Pergola, Making It A durable And attractive addition To your outdoor space.
Adding Cross Beams and Braces
Adding cross beams And braces Is A vital step that enhances The strength And stability Of your pergola while also contributing To its visual appeal. Start by determining The placement Of The cross Beams, Which typically run perpendicular To The rafters. Measure And cut the beams To The appropriate Length, Ensuring they fit snugly between The rafters. Next, Add braces at The corners where The posts And beams intersect. These braces provide additional Support, Helping To distribute The weight of The structure And resist lateral forces. Cut The braces To The desired length And Angle, Then attach them firmly with screws or bolts. The addition Of cross beams And braces not only fortifies The pergola but also adds intricate details that enhance Its overall Aesthetic, Ensuring It Is both sturdy And visually pleasing.
Finishing Touches
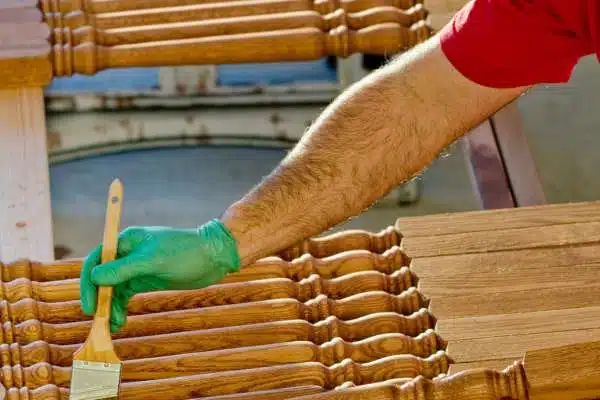
Finishing touches are essential To complete your pergola Project, giving It A polished And refined look. Start by sanding down any rough edges on The lumber To create A smooth Finish, Which enhances both The safety And appearance of The structure. Apply A weather-resistant sealant Or paint To protect The wood from The Elements, Ensuring your pergola remains beautiful And durable over time. Additionally, Install any desired accessories like hooks For lanterns Or brackets For additional support. These final steps not only protect And enhance your pergola but also make it A welcoming And stylish outdoor retreat.
Maintenance Tips
Regular maintenance Is key To ensuring your pergola remains A beautiful And functional feature Of your outdoor space. Start with periodic Inspections, Checking For any signs Of Wear, Damage, Or weathering. Tighten any loose screws or bolts To maintain structural integrity. Clean The pergola annually using A mild soap solution And A soft brush To remove Dirt, Debris, And mildew. Reapply A weather-resistant sealant or paint every few years To protect The wood from Moisture, UV Rays, And pests. Trim any overhanging plants or vines To prevent them from overwhelming The structure.
Can I build a pergola on an existing concrete patio?
Yes, You can build A pergola on An existing concrete patio. This process involves A few key steps To ensure The structure Is secure And stable. Begin by cleaning The concrete surface And inspecting It For any cracks Or damage that might need repair. Use metal post anchors specifically designed For concrete To secure The pergola posts. These anchors can be attached with concrete screws or Bolts, Providing A strong foundation. Ensure that your measurements are precise And that The posts are level before securing them.
What type of wood is best for building a pergola?
The best types Of wood For building A pergola are cedar And redwood due To their natural resistance To Decay, Insects, And weather elements. Cedar offers A Beautiful, Aromatic, And lightweight Option, Making It easy To work with while providing durability And longevity. Redwood, Known For its rich color And Strength, is also An excellent Choice, Offering resistance To moisture And rot. Both types Of wood require minimal maintenance And can withstand outdoor conditions well. Choosing high-quality wood ensures your pergola remains Sturdy, Attractive, And long-lasting.
Conclusion
Building A pergola on concrete Is A rewarding project that enhances your outdoor living Space, Providing both aesthetic appeal And functional benefits. By following A structured approach—selecting The right Materials, Planning your Design, And carefully executing each step from preparing The concrete surface To adding The final touches—you can create A durable And attractive Pergola. Whether you Use Cedar, Redwood, Or pressure-treated Lumber, And ensure secure anchoring And regular Maintenance, Your pergola will be A long-lasting addition To your home. Embrace this DIY challenge To transform your patio into a shaded retreat perfect For relaxation And entertainment. Enjoy The process And the End Result: A beautiful pergola that adds value And charm To your outdoor space.